Installation of Pfsense firewall on VMware Workstation Pro
2022-11-06
NB: This post is part of the series on building a home lab
pfSense is a free and open-source firewall and routing software based on the FreeBSD operating system. It is designed to be a robust, feature-rich, and highly customizable firewall solution suitable for both home and enterprise environments. PfSense can be installed on a physical machine or as a virtual machine and provides a web-based graphical user interface (GUI) to manage and configure its various features.
PfSense acts as a powerful firewall, allowing you to define rules to control the flow of network traffic based on source and destination IP addresses, ports, protocols, and other criteria. It can protect your network by blocking unauthorized access and malicious traffic.
Step 1
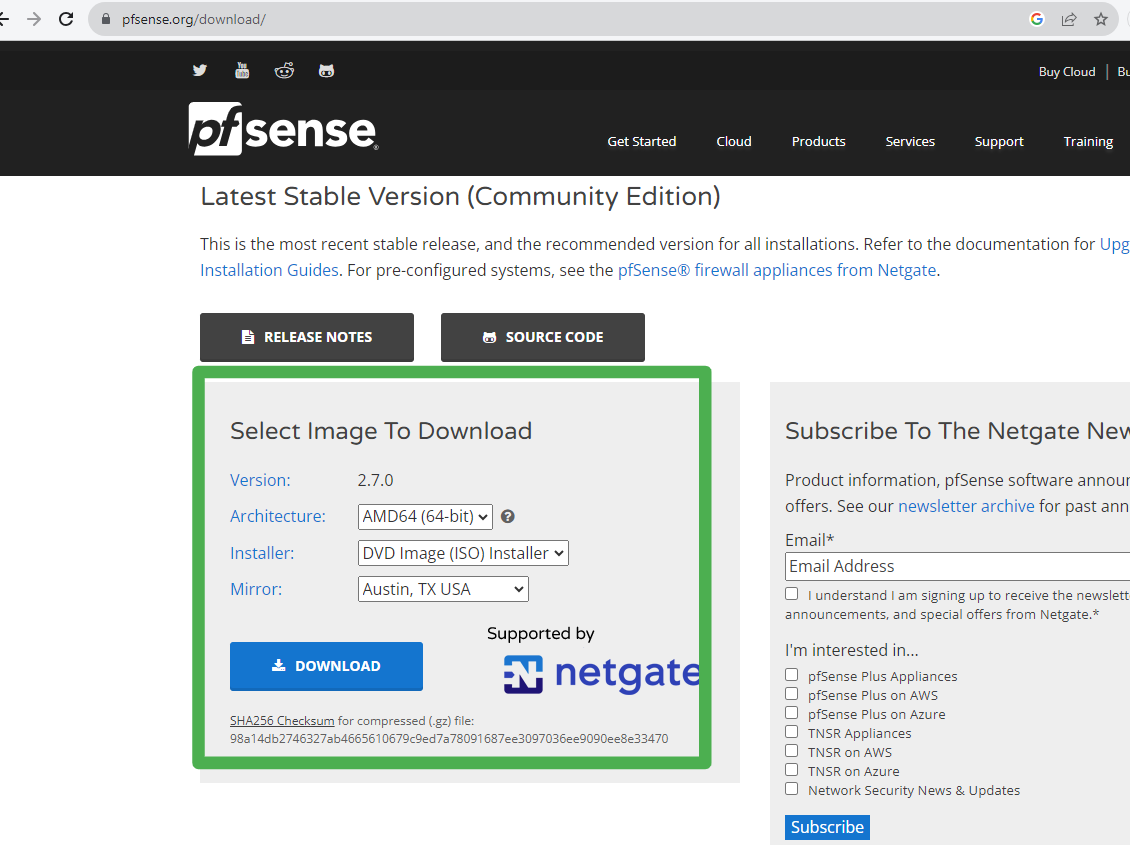
To install pfsense, head over to the official download page on your favorite browser. https://www.pfsense.org/download/
Select the architecture, the amd64 architecture works on Intel 64-bit CPUs Installer, ISO installer, and Mirror Austin, Tx(You should select the nearest location to you).
Then click on download to begin the downloading of the file. Make sure you save at a location you can easily find.
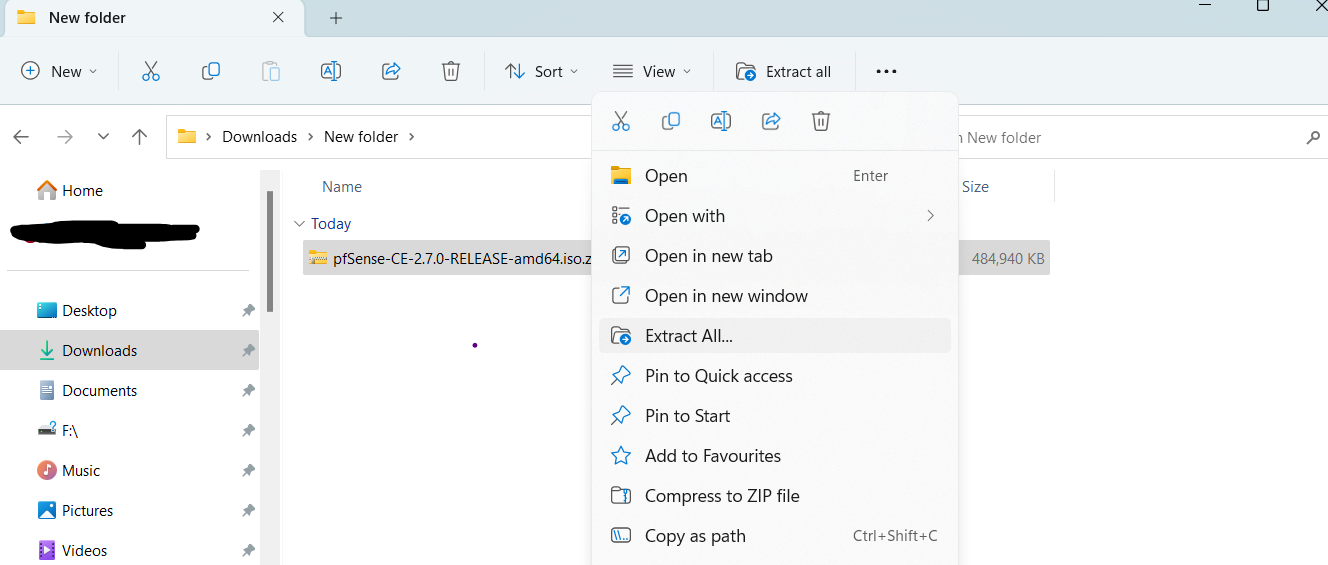
The downloaded file will be a .zip, so you need to extract or unzip it before you can use it.
Step 2
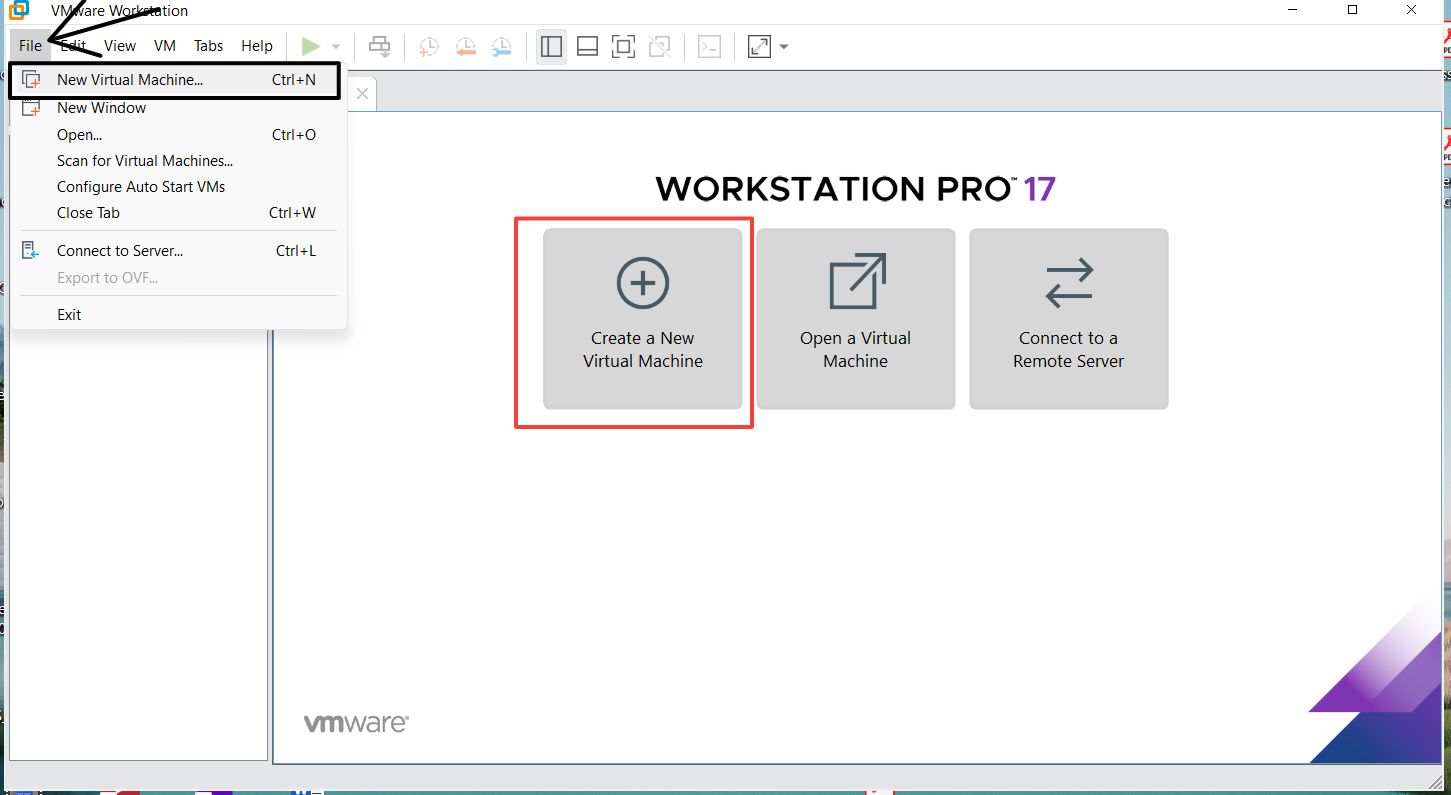
Open the Vmware workstation Pro, select "File" from the options at the top, then choose "New virtual machine" from the dropdown list or just click on "Create a new virtual machine" as highlighted in red below
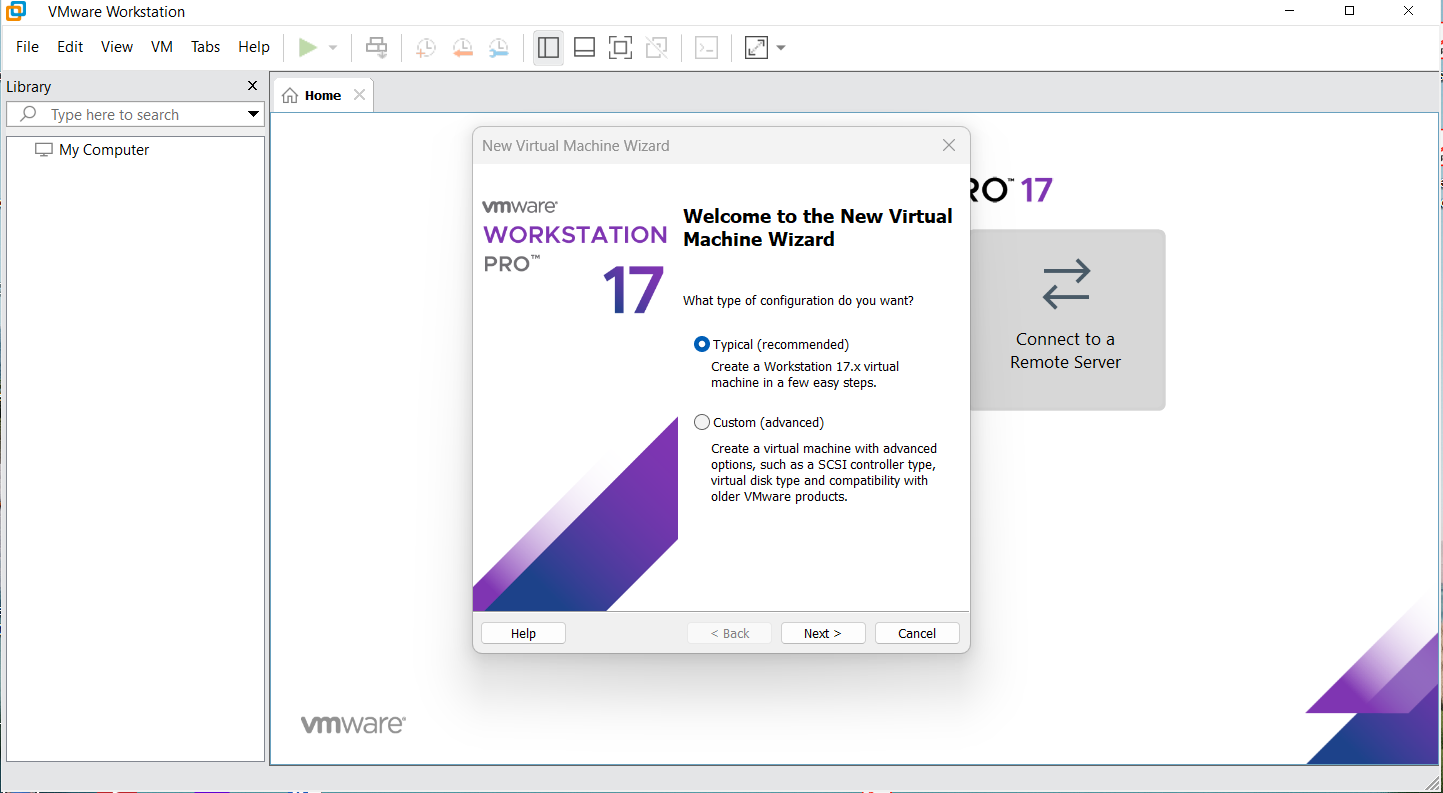
Next, choose the recommended option displayed in the modal and click "Next"
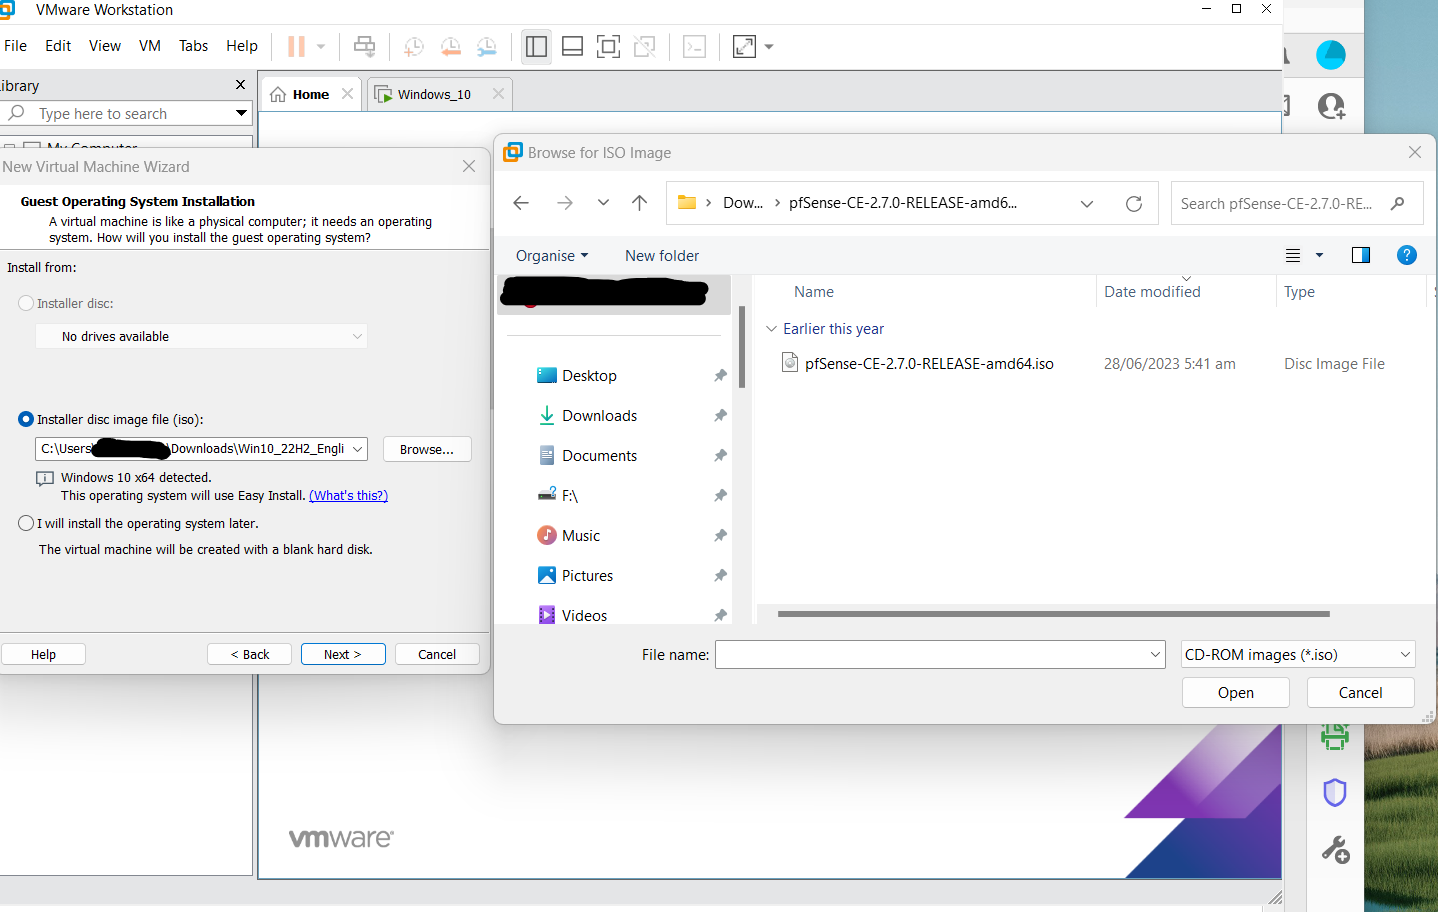
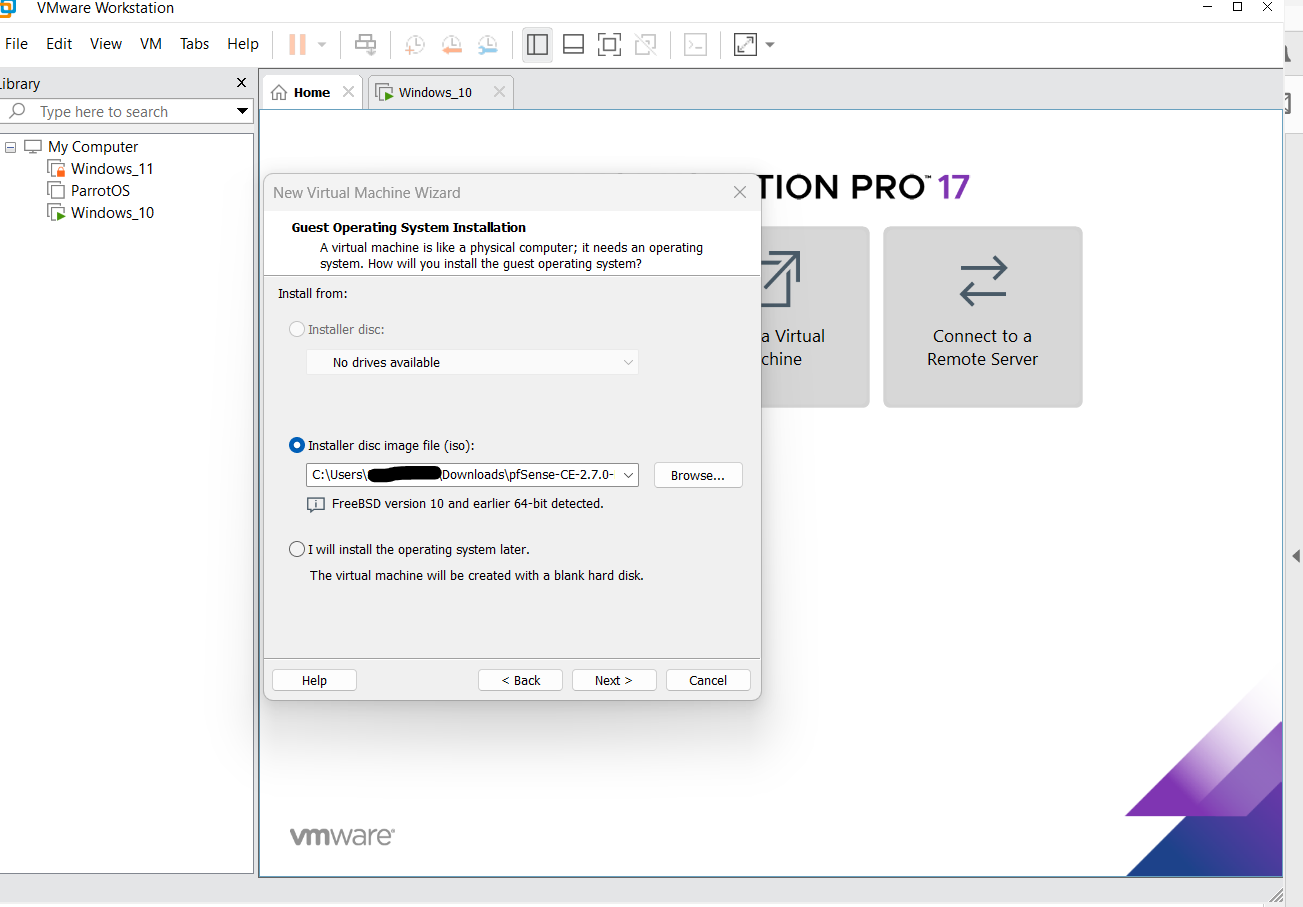
Next, you will be presented with another modal to choose the .iso file. Click on "Browse" and locate the file (mine was placed in the downloads folder)
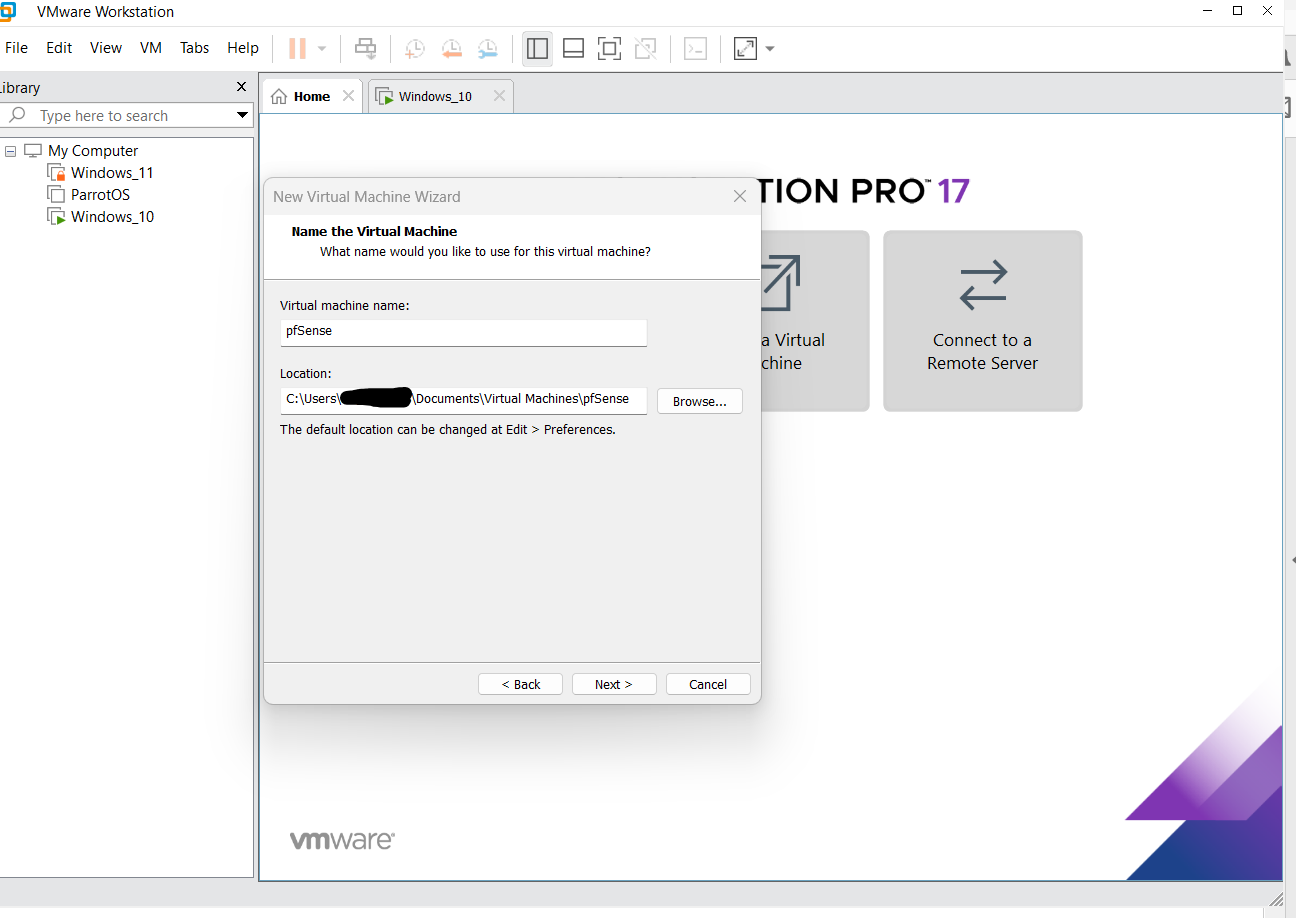
Next, change the name and location to install the firewall if you want.
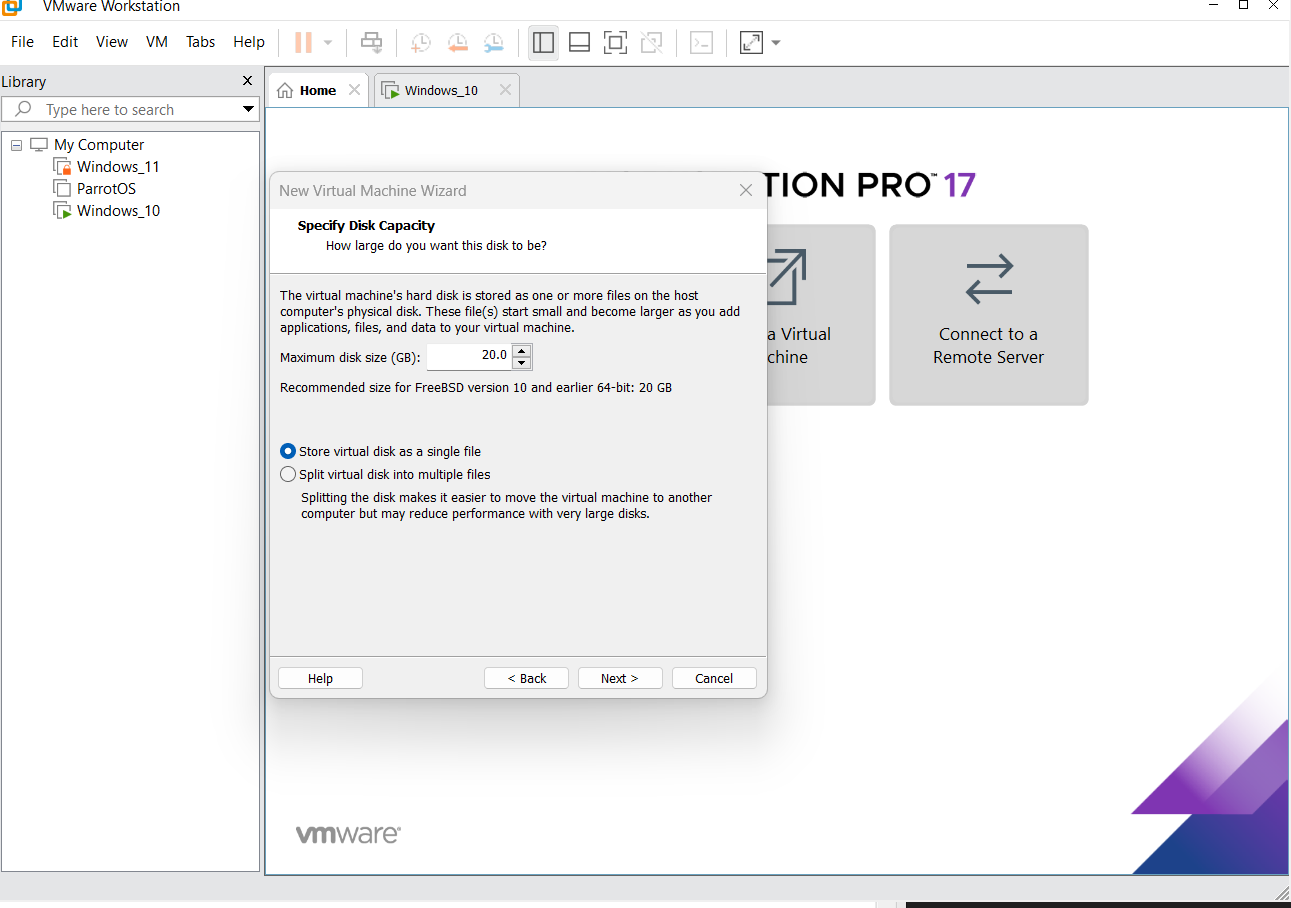
Next, select the hard disk capacity. Recommended is 20GB. And also I choose to store the virtual disk as a single file.
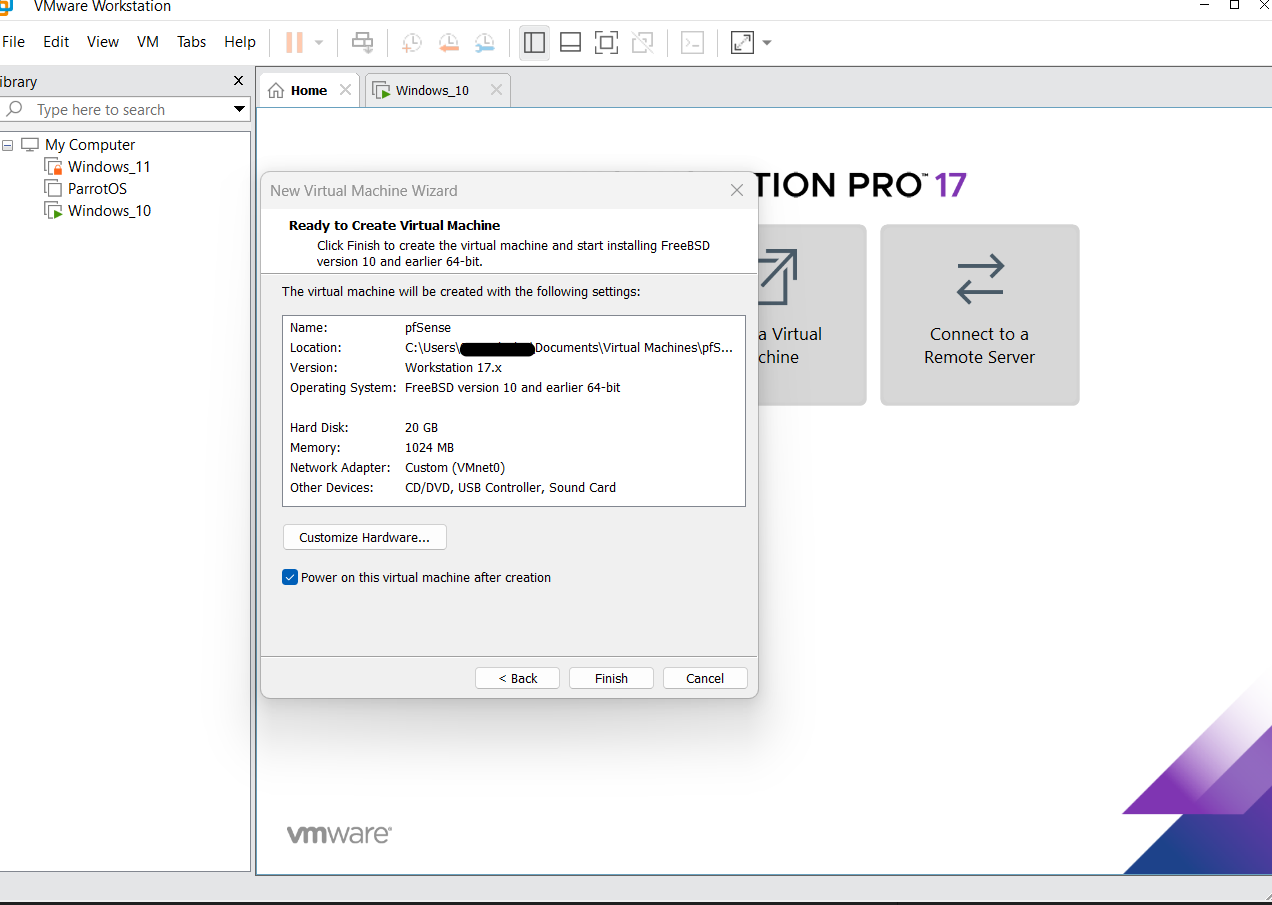
A summary of the configurations we have so far. Click on the customize button to make additional customization or configurations.
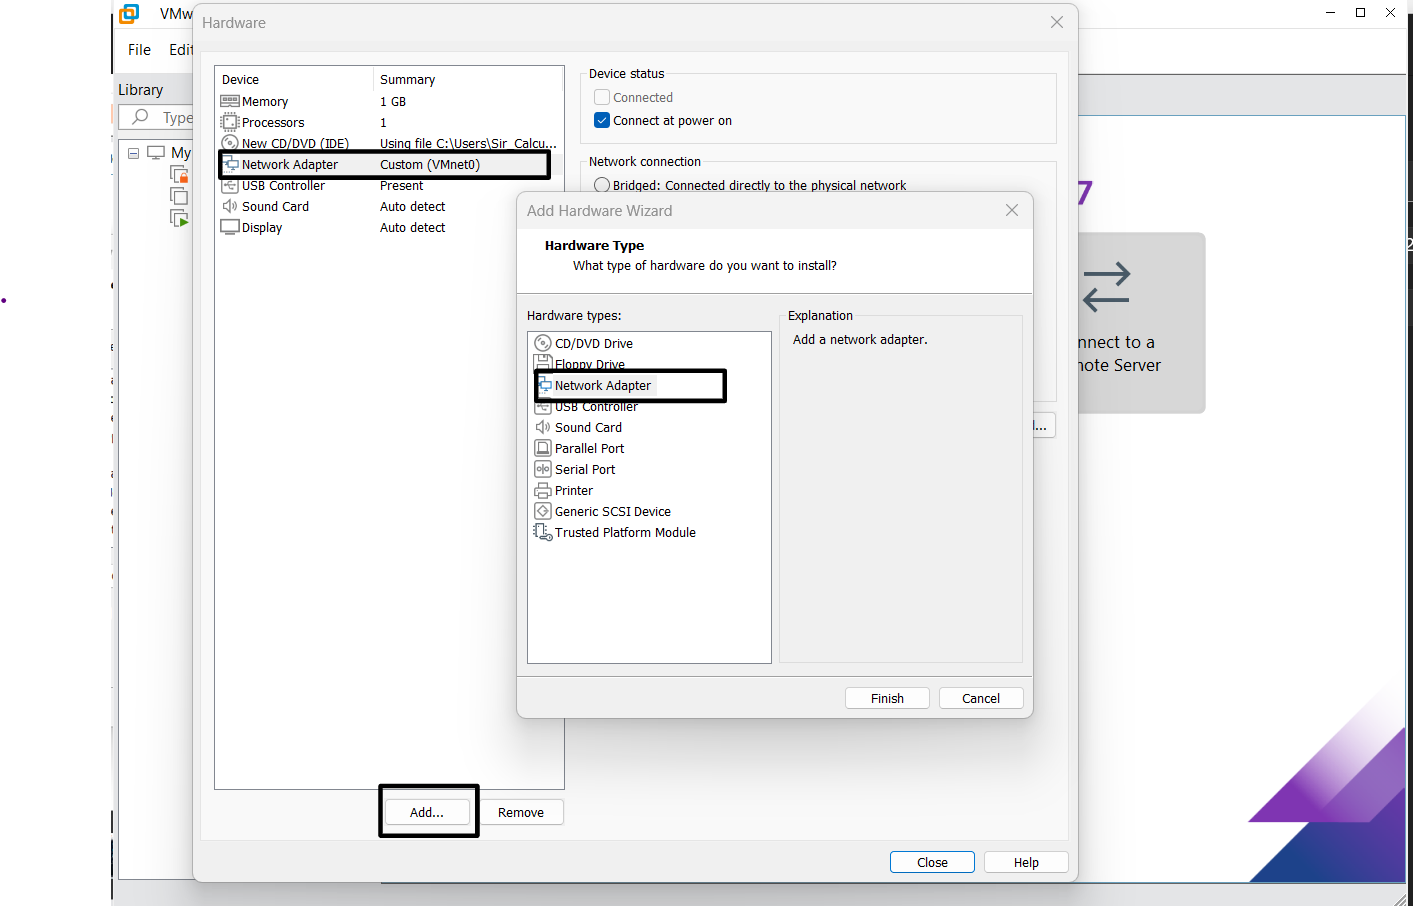
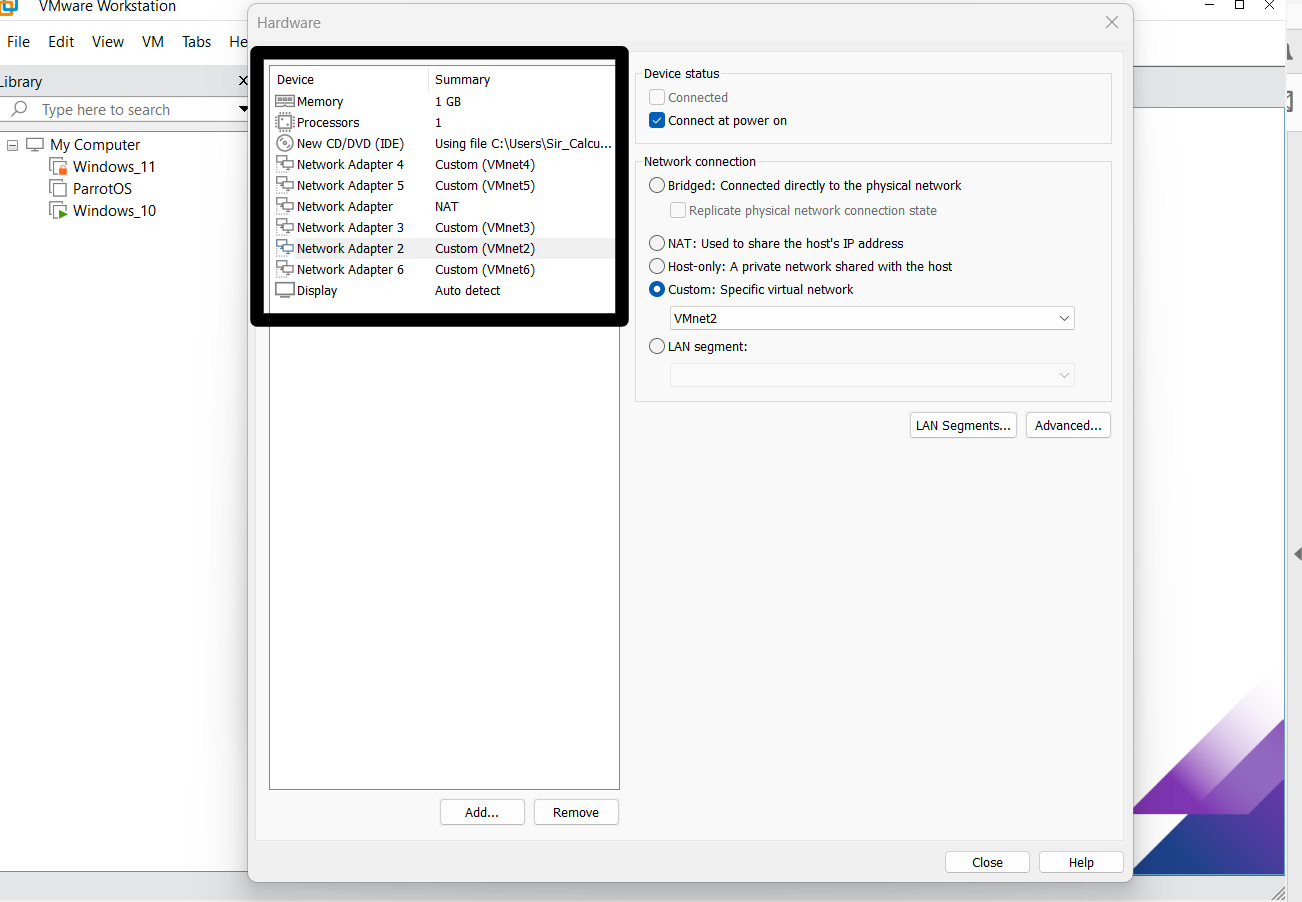
The VM only had one network adapter but based on our Lab Topology, we will need 5 interfaces for this lab. So click add then select network adapter and continue to do this until there are 6 in total. Also, remove things we do not need such as USB controller and sound card.
Step 3
Accept the terms and conditions to begin the installation
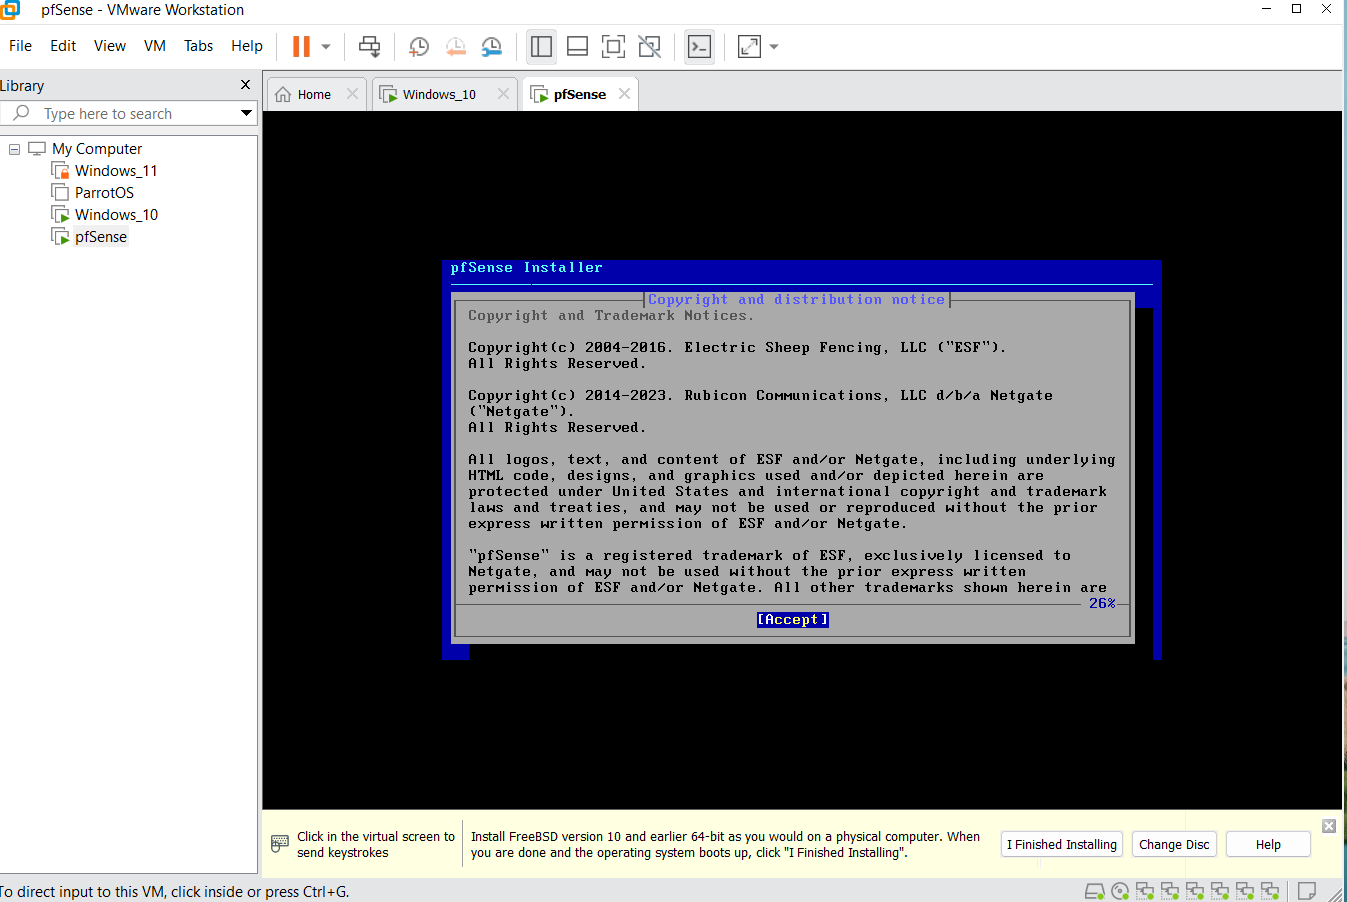
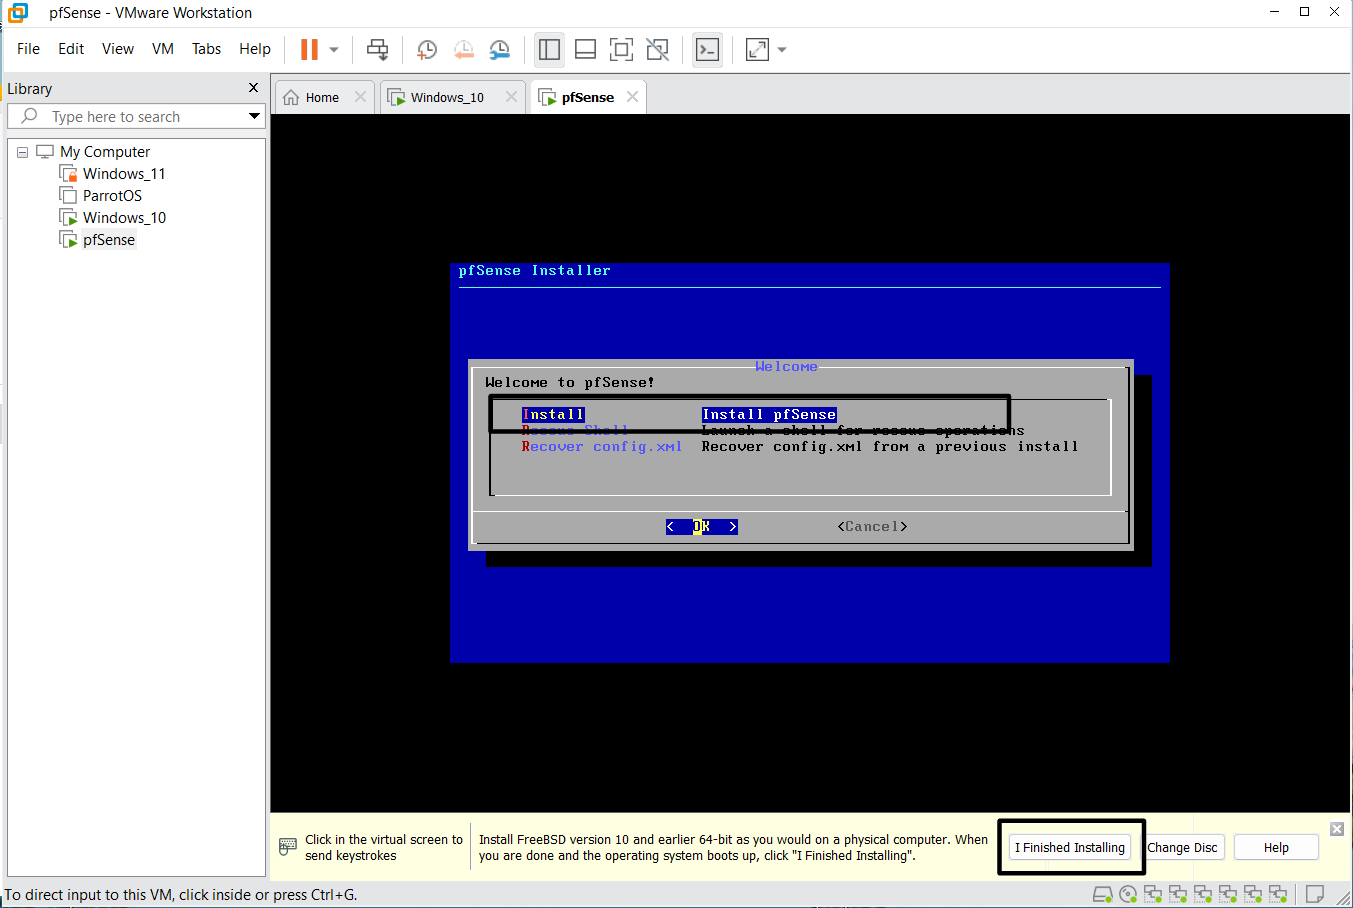
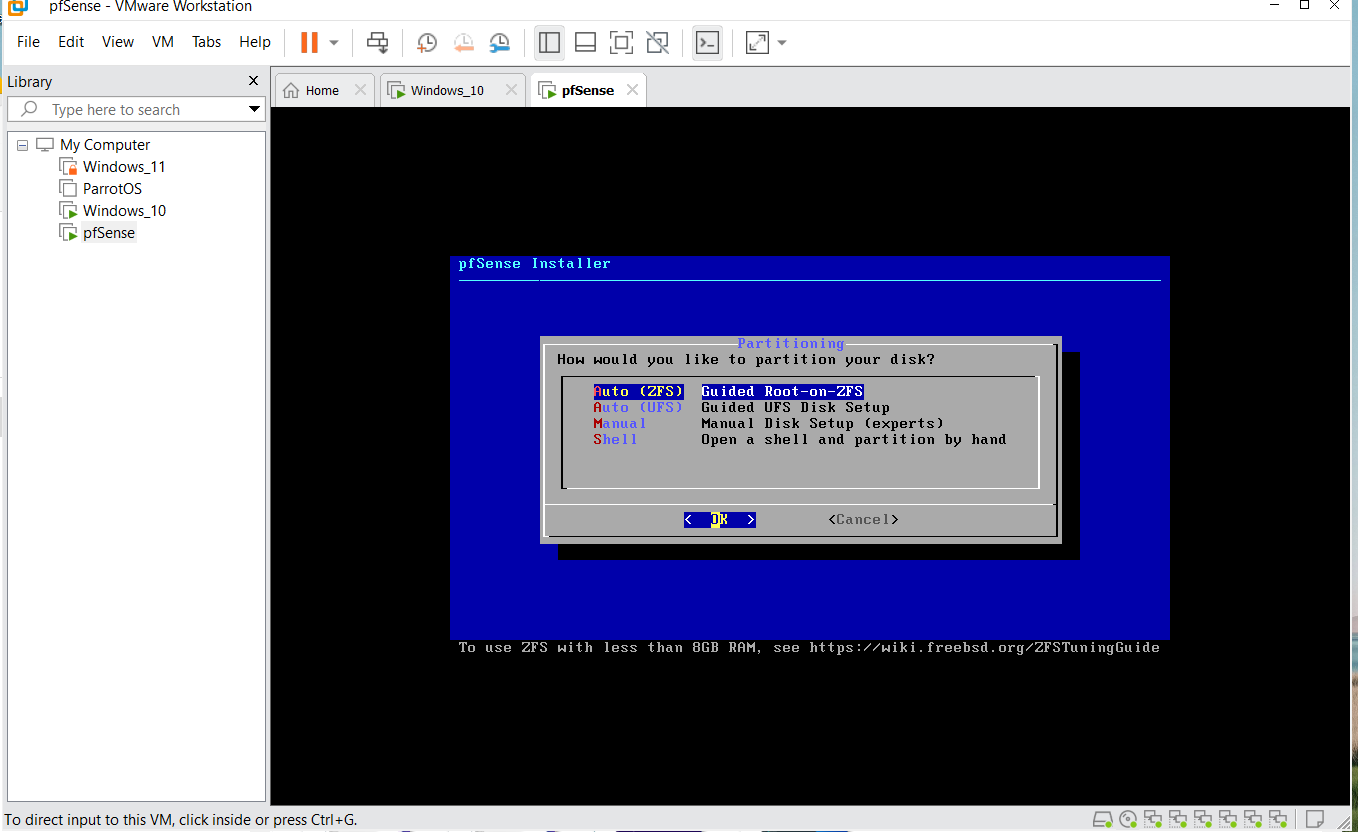
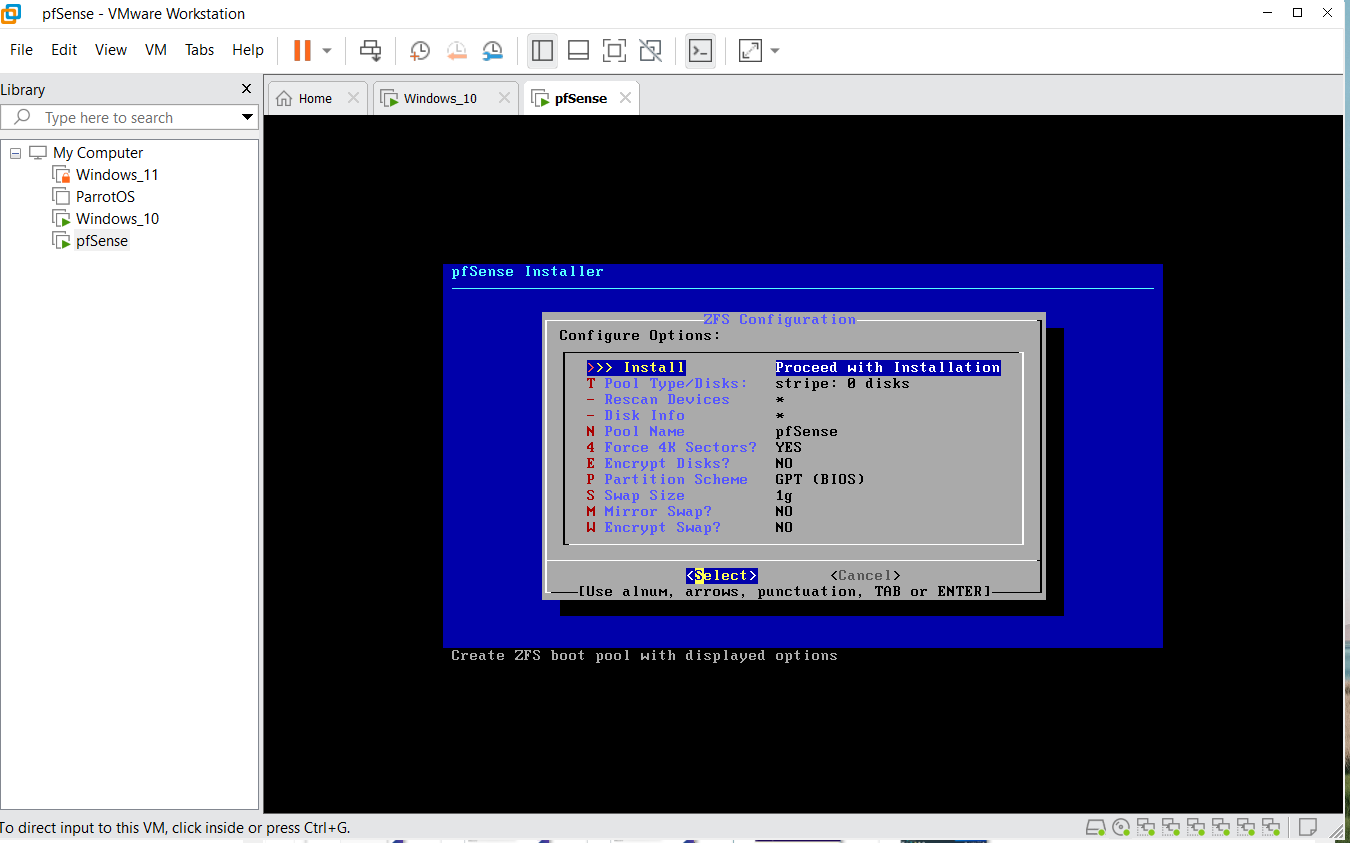
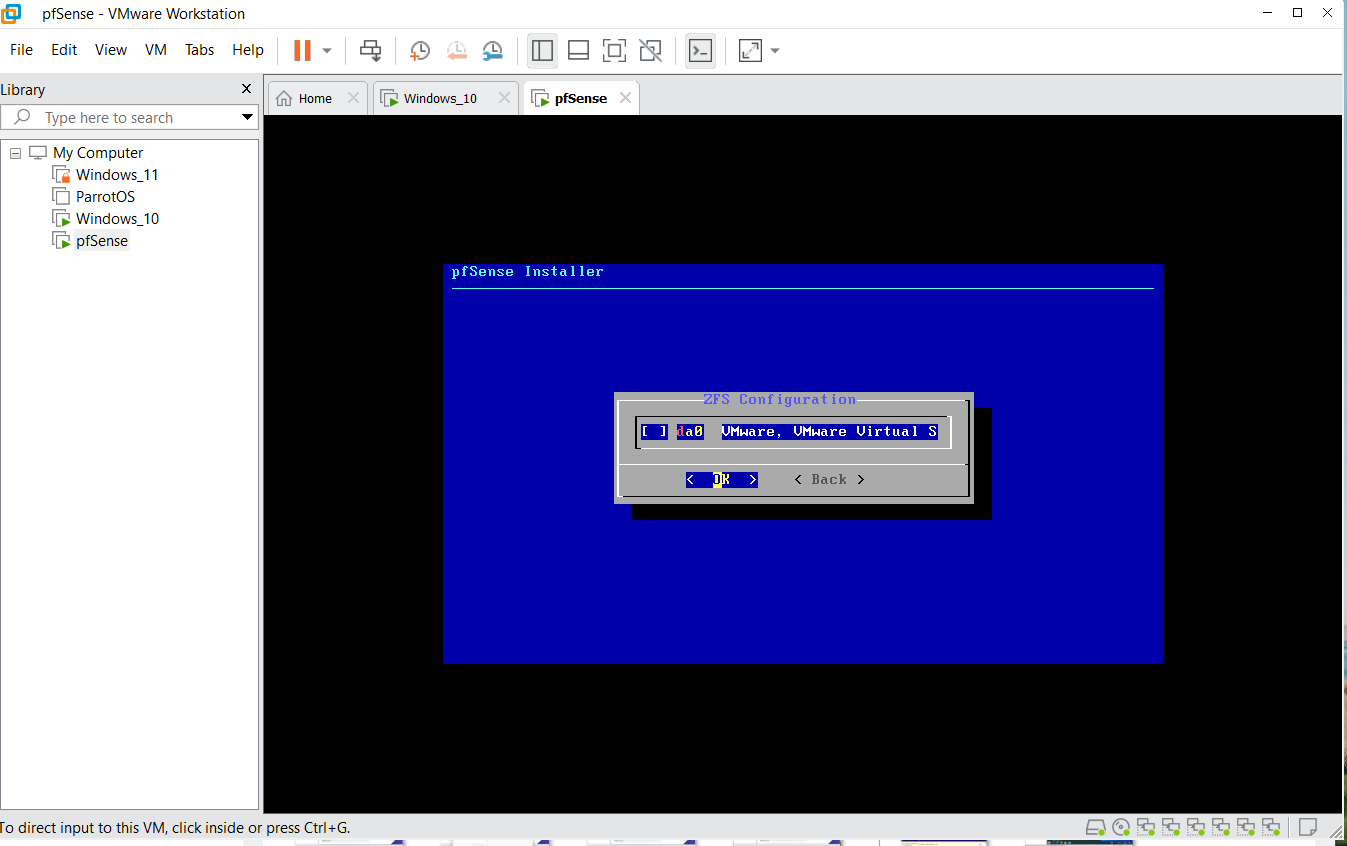
Press the space bar to select
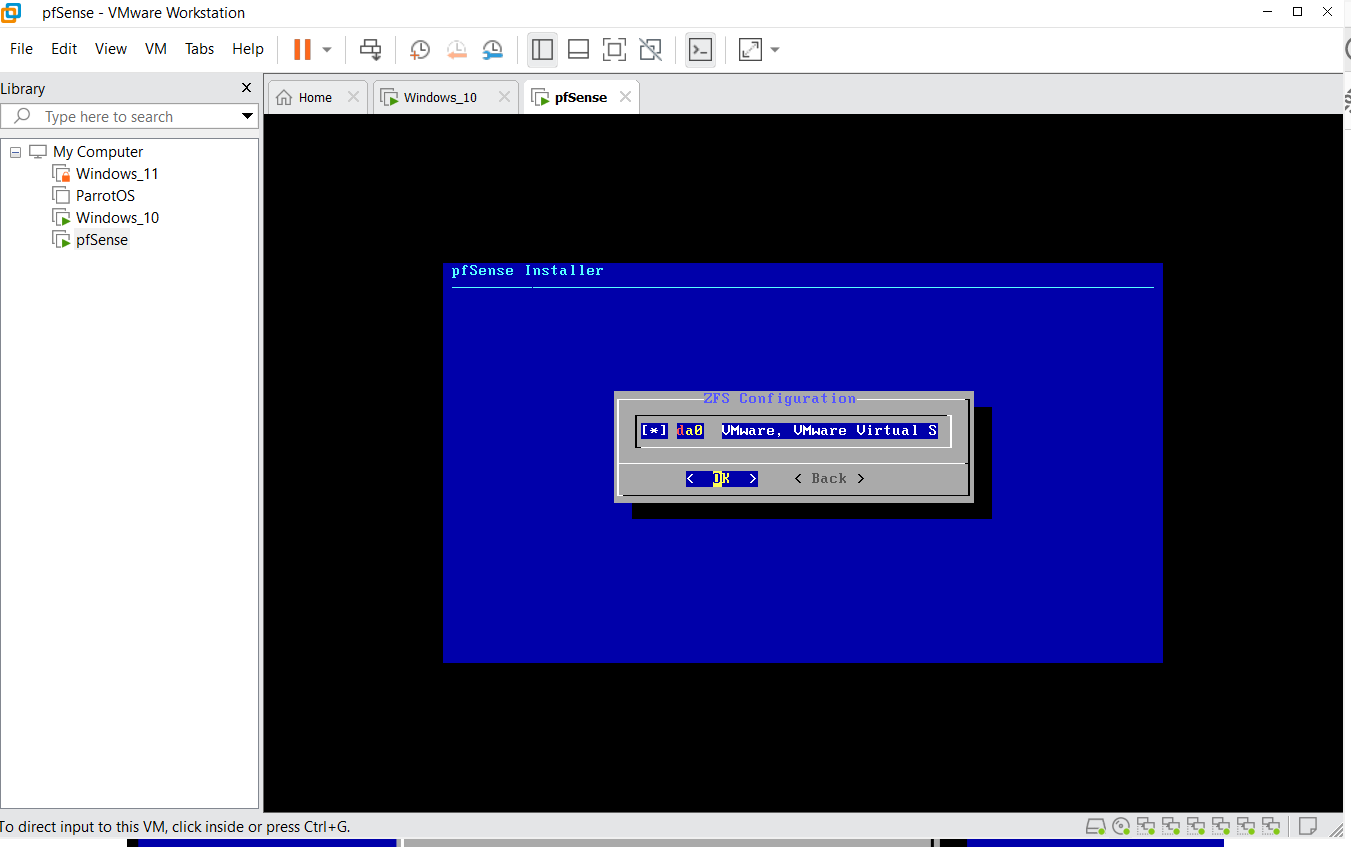
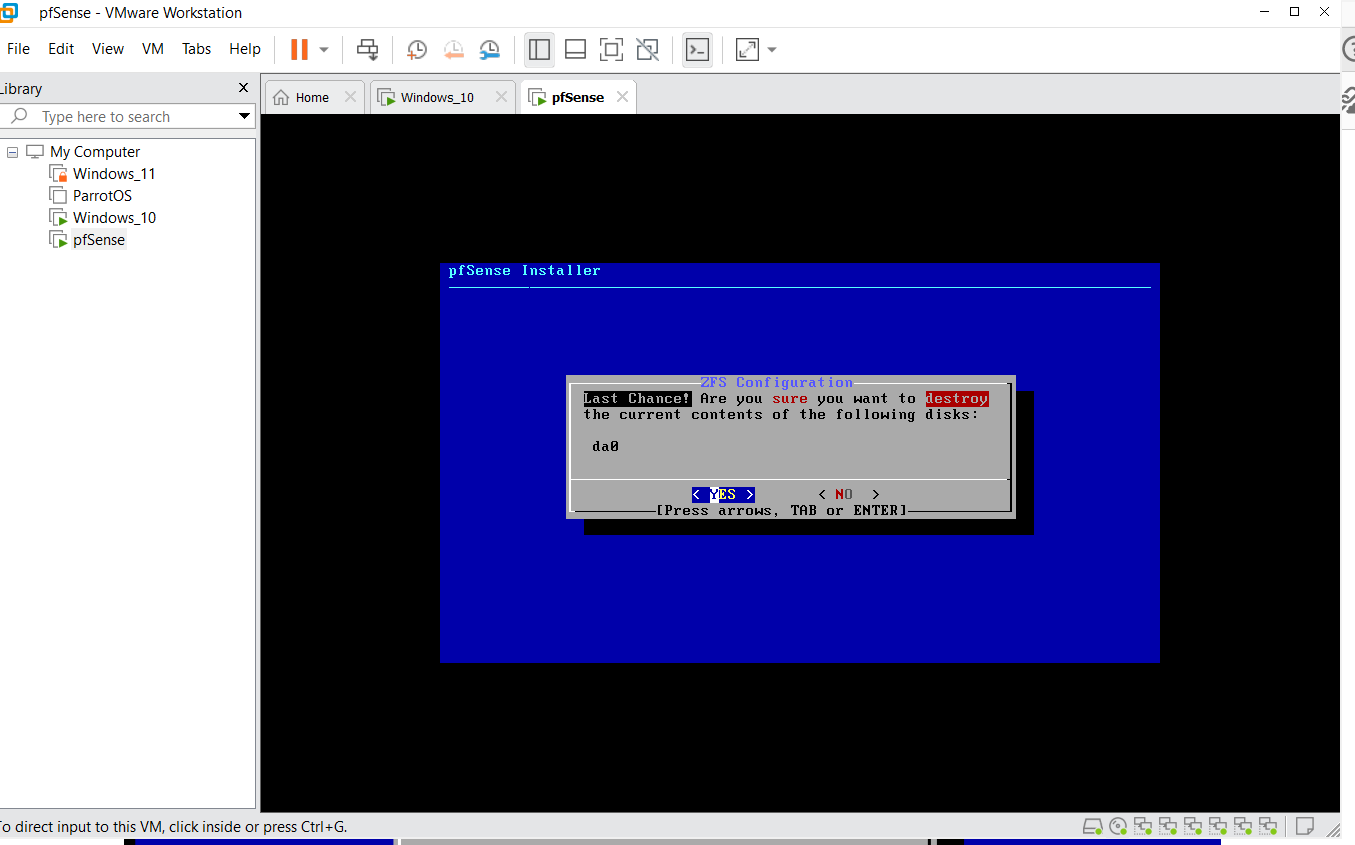
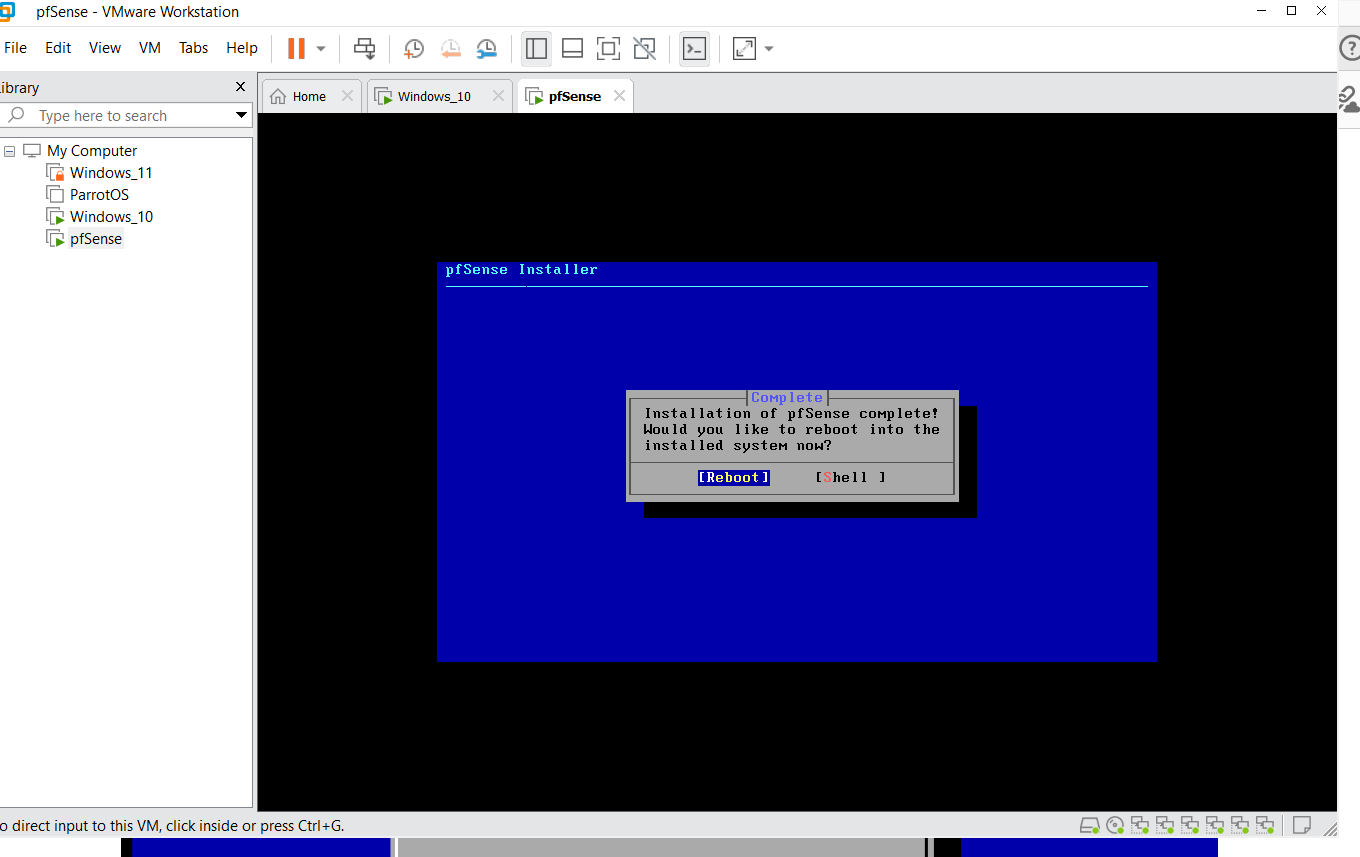
Now it's time to configure or assign the other network interfaces. Additional 5 was added but as it appears now, only two are shown (WAN and LAN)
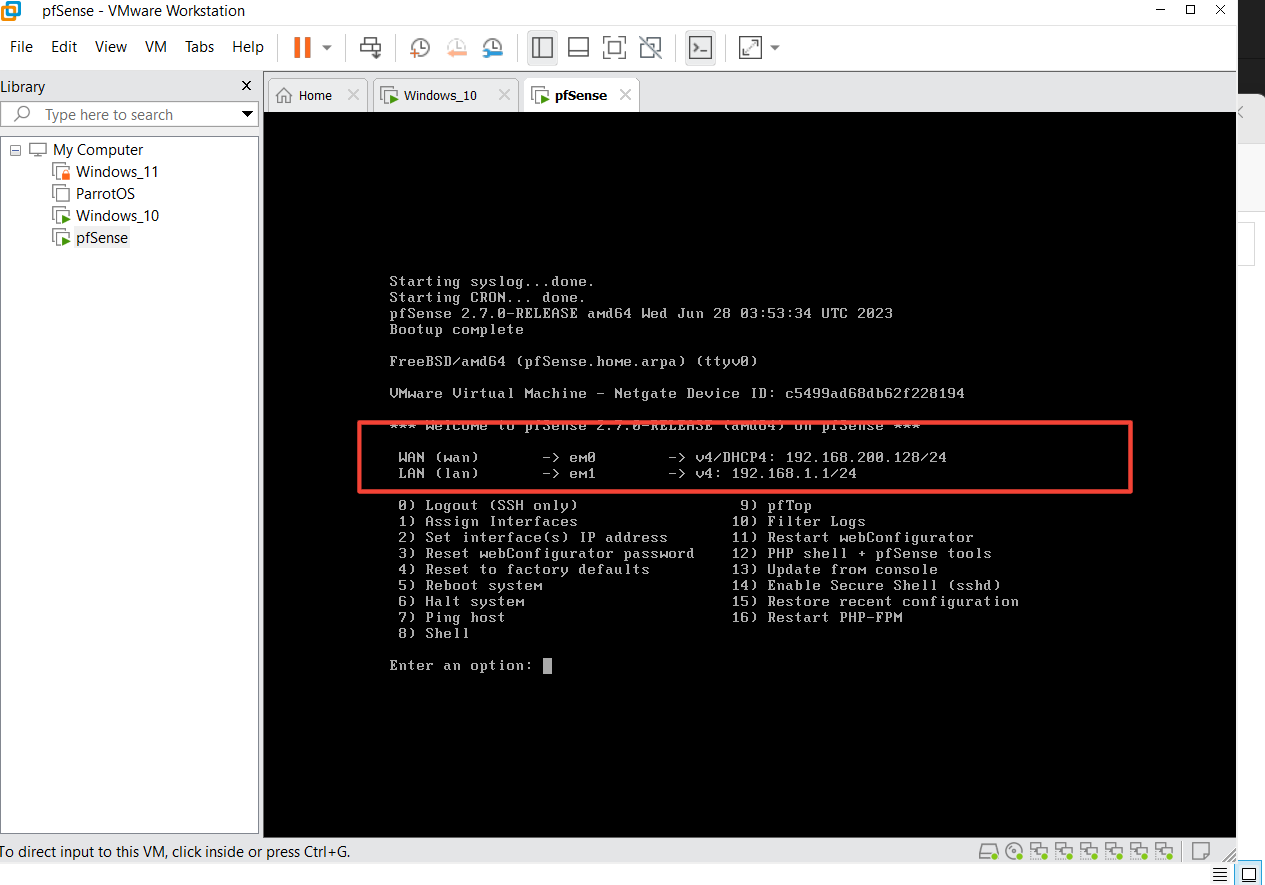
Step 4
Assign the missing network interfaces.
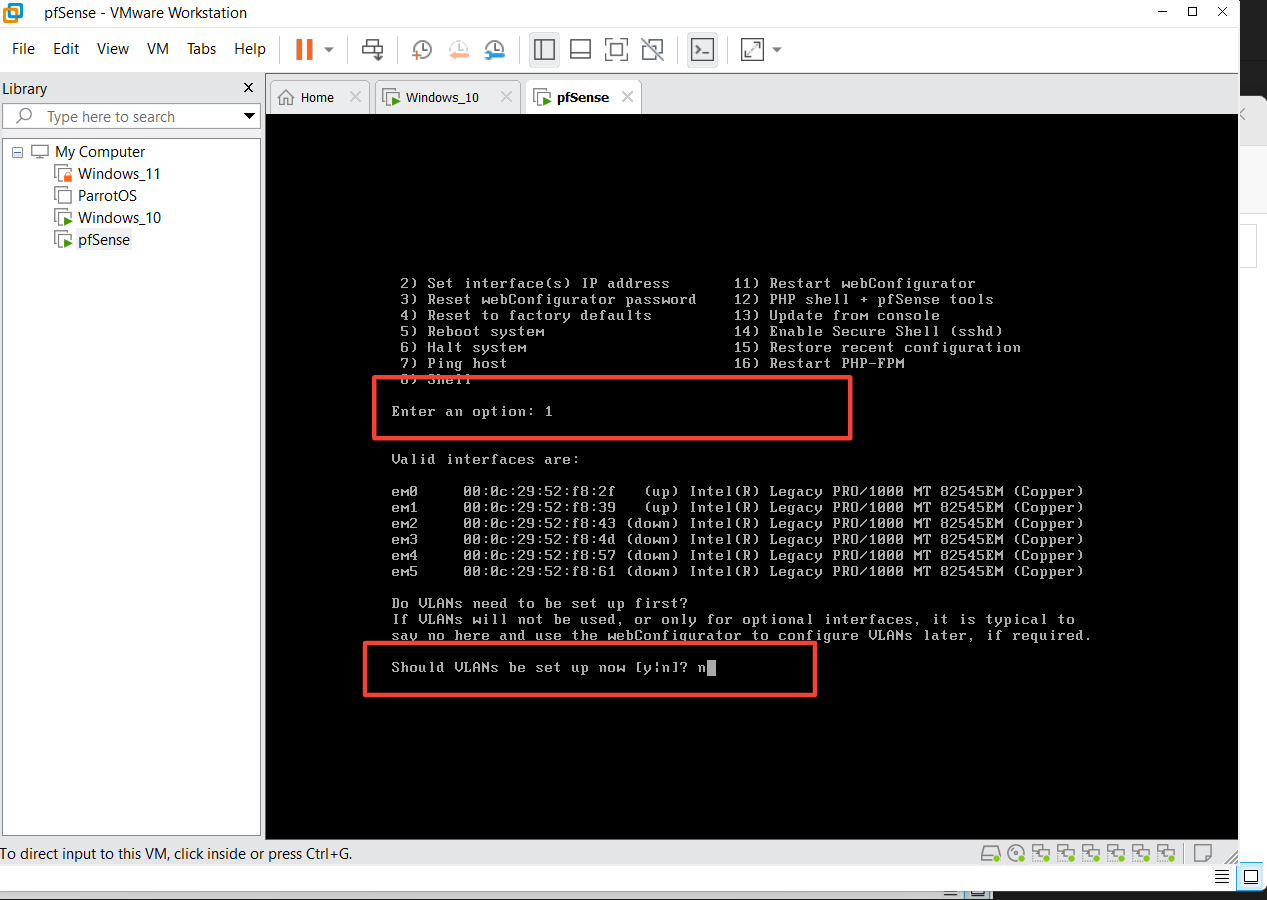
To assign interfaces, enter option number 1
Should VLAN be set up now: N
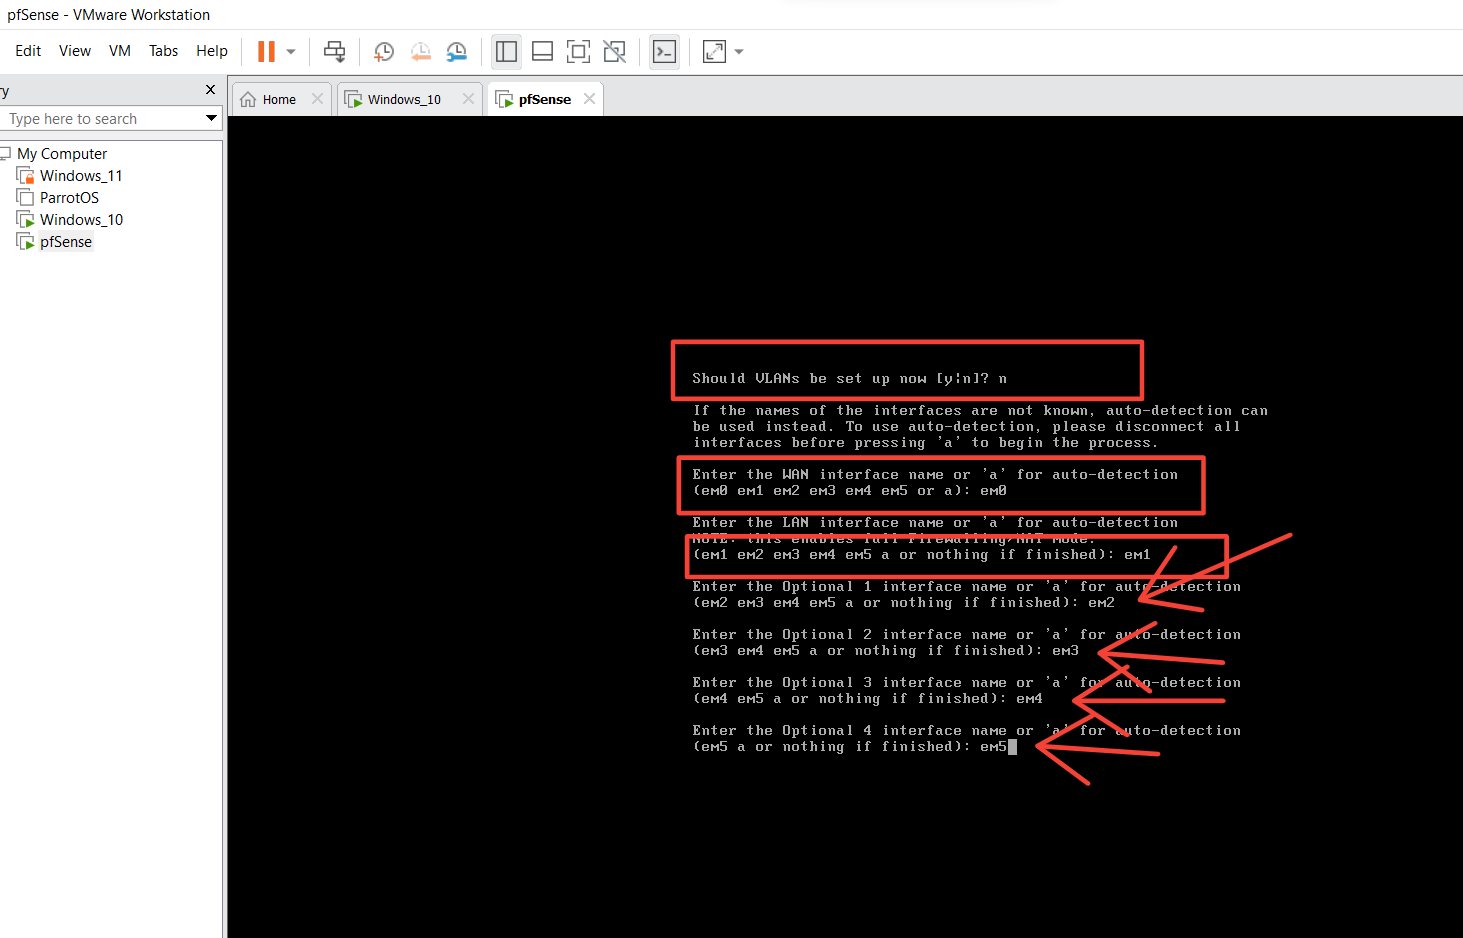
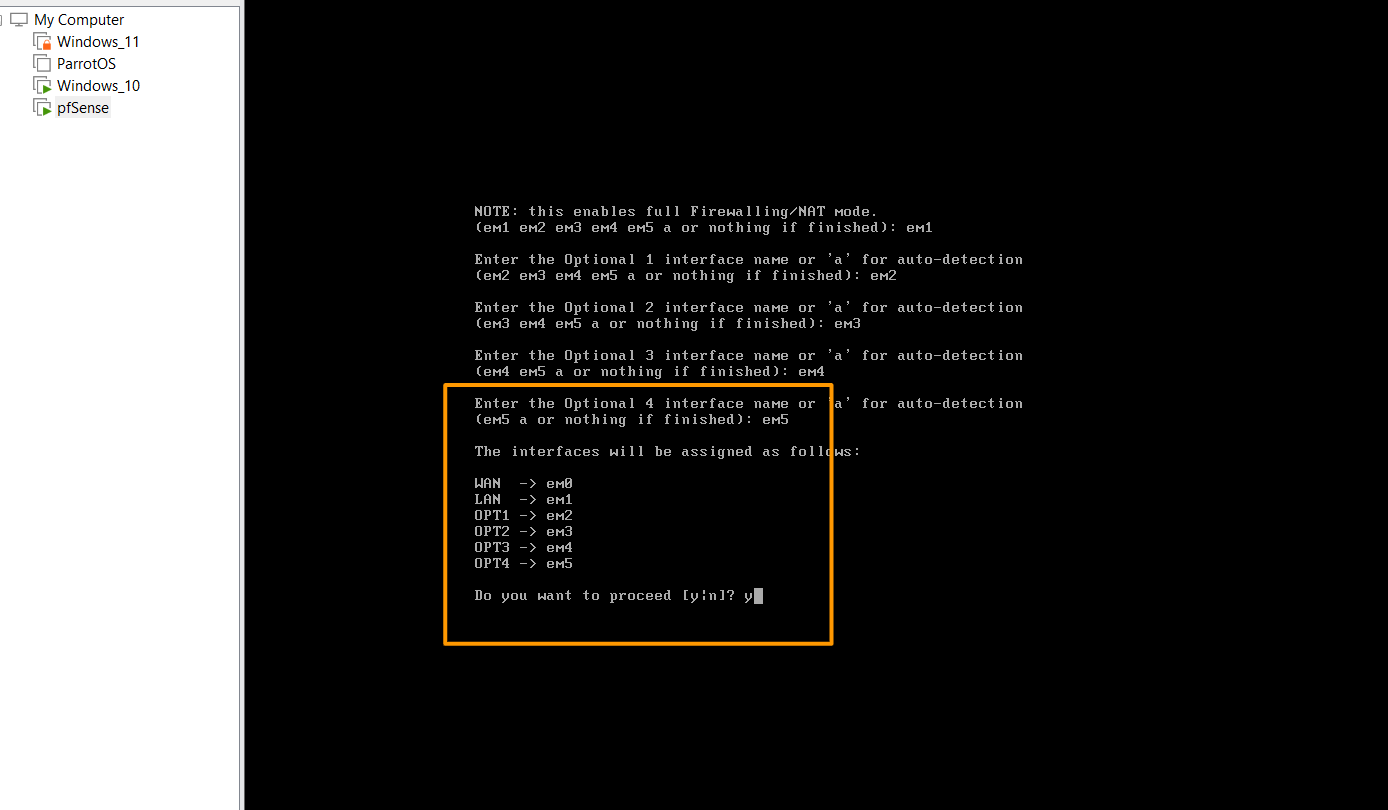
Now begin to enter the interfaces in the order em0, em1, em2, em3, em4, em5
Step 5
Next is to set the interfaces' IP address.
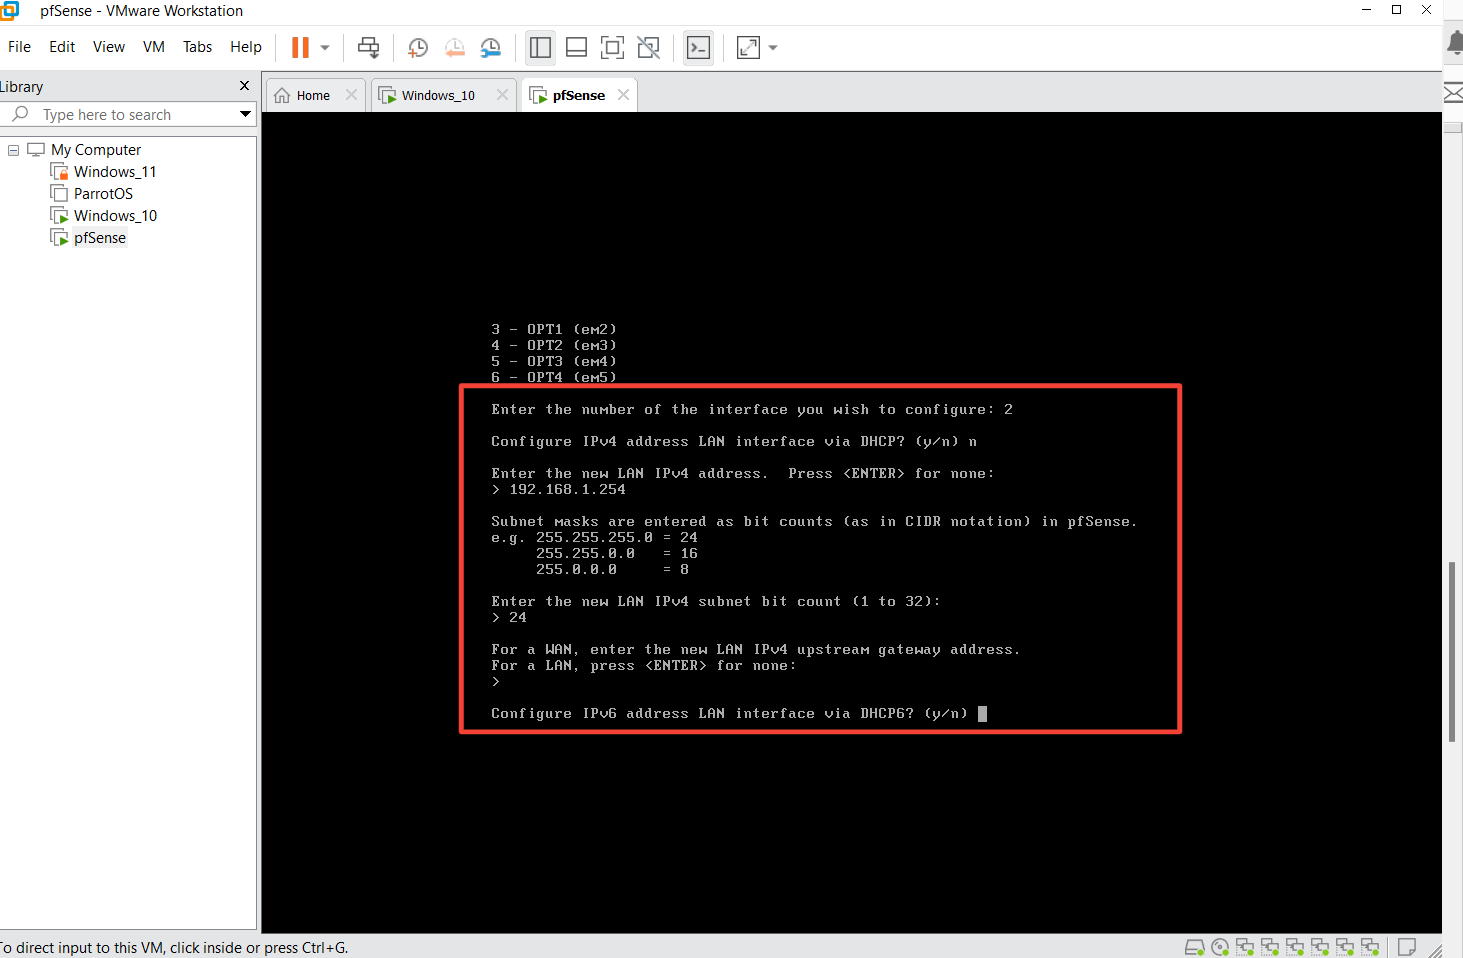
Enter option number 2 - Set interface(s) IP address.
Starting with the LAN interface.
Enter the number of interface you wish to configure - 2 as shown in the images below
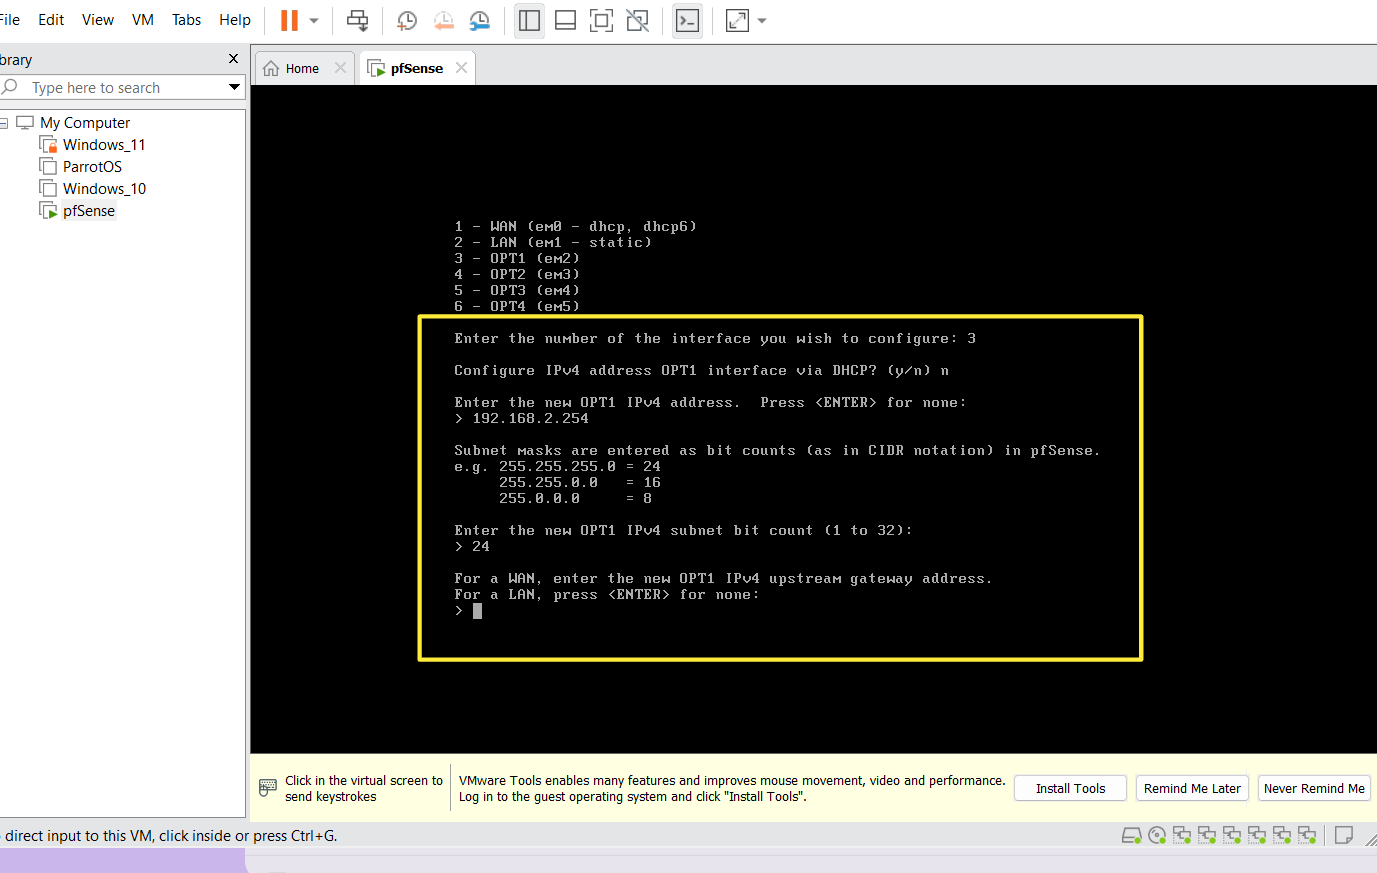
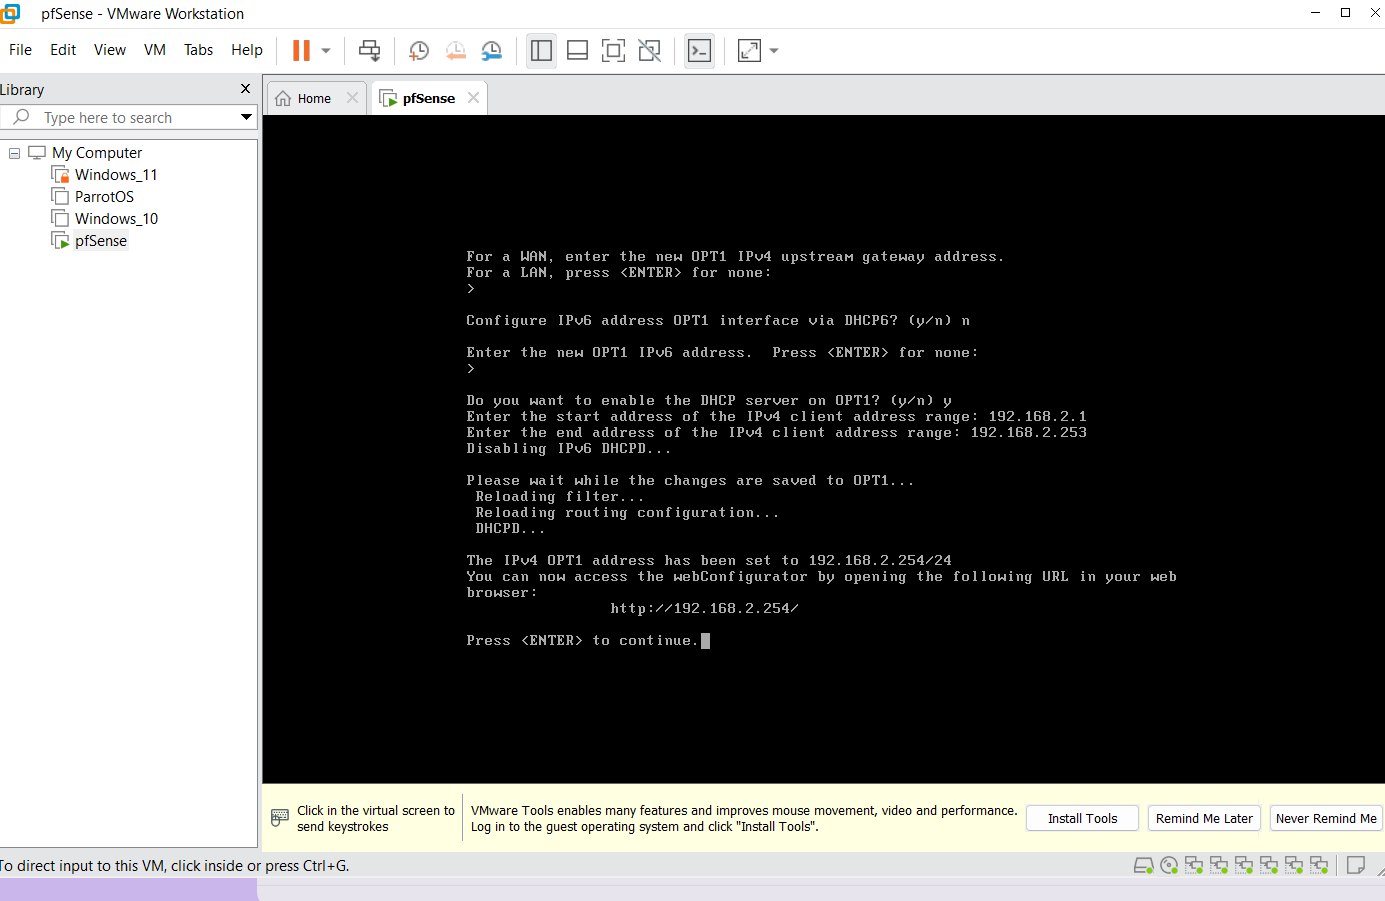
Repeat the process for the other interfaces
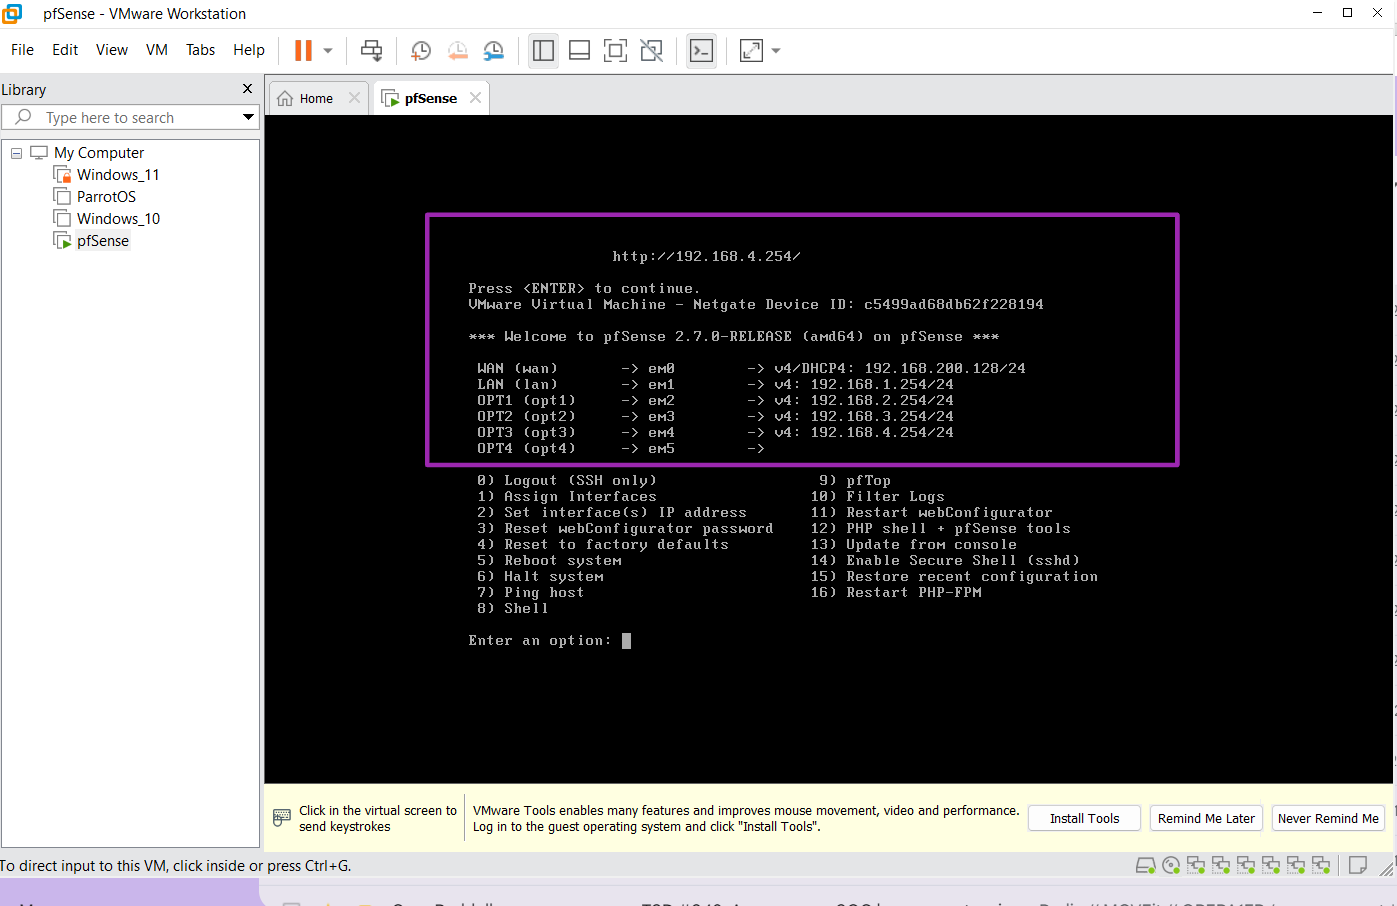
Step 6
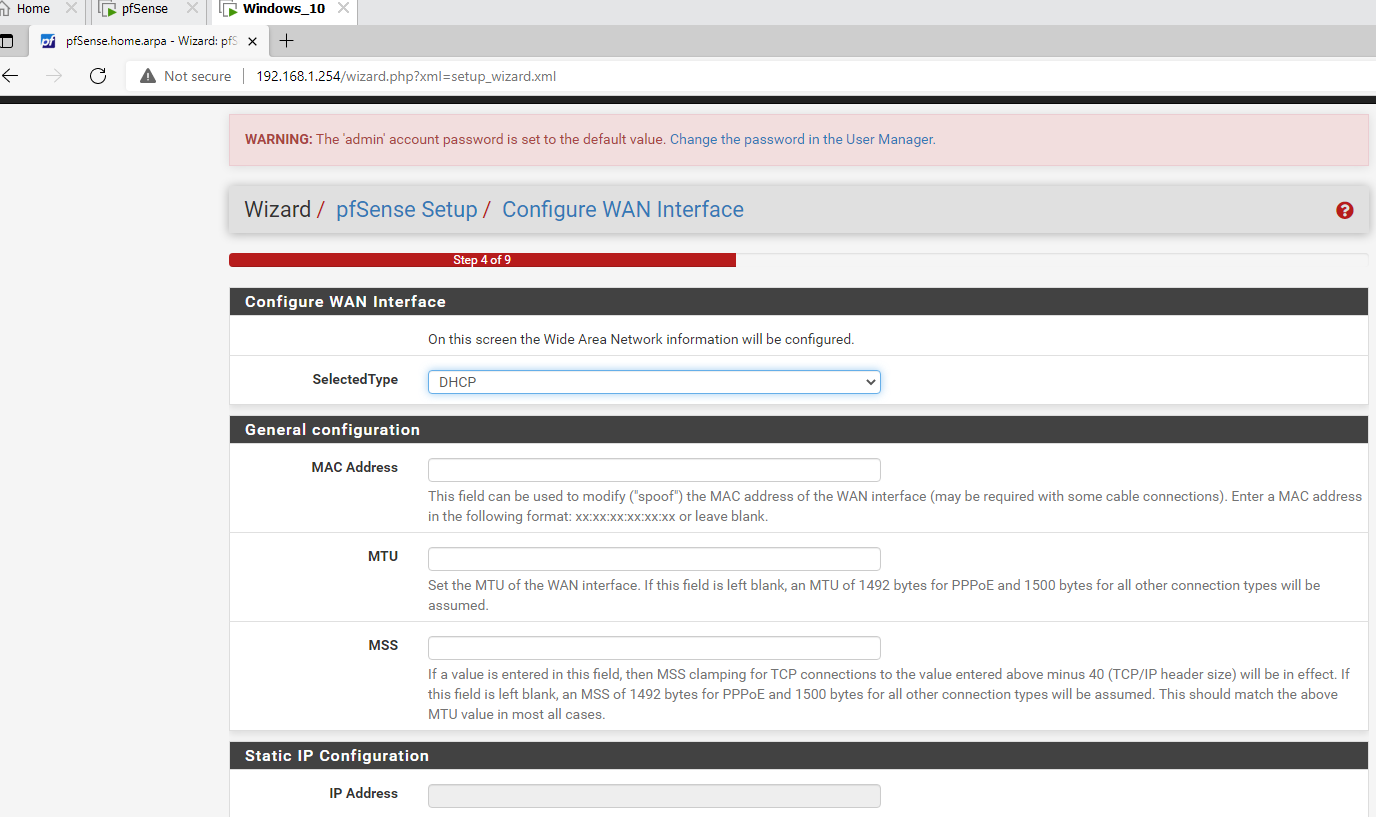
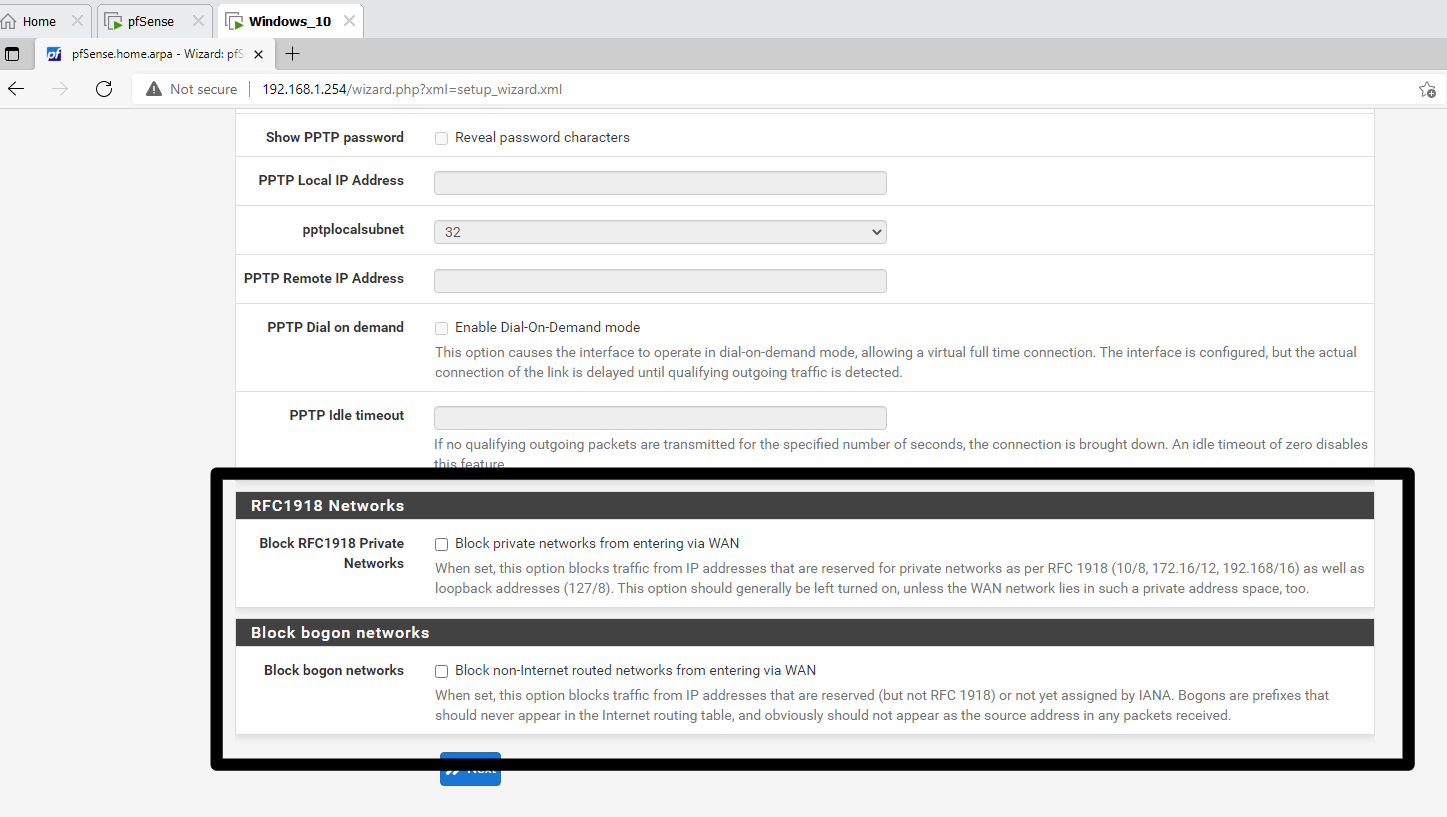
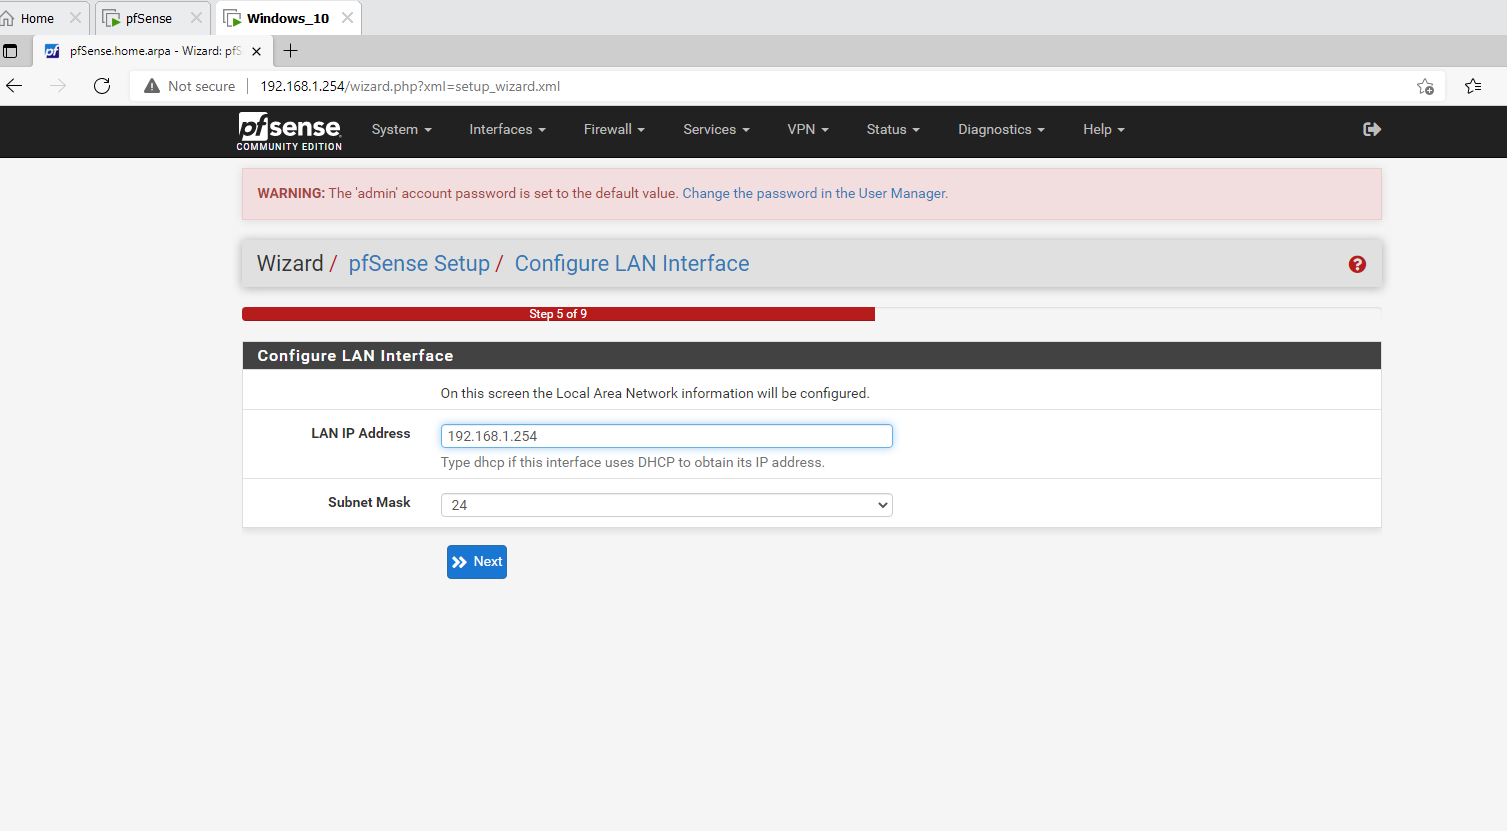
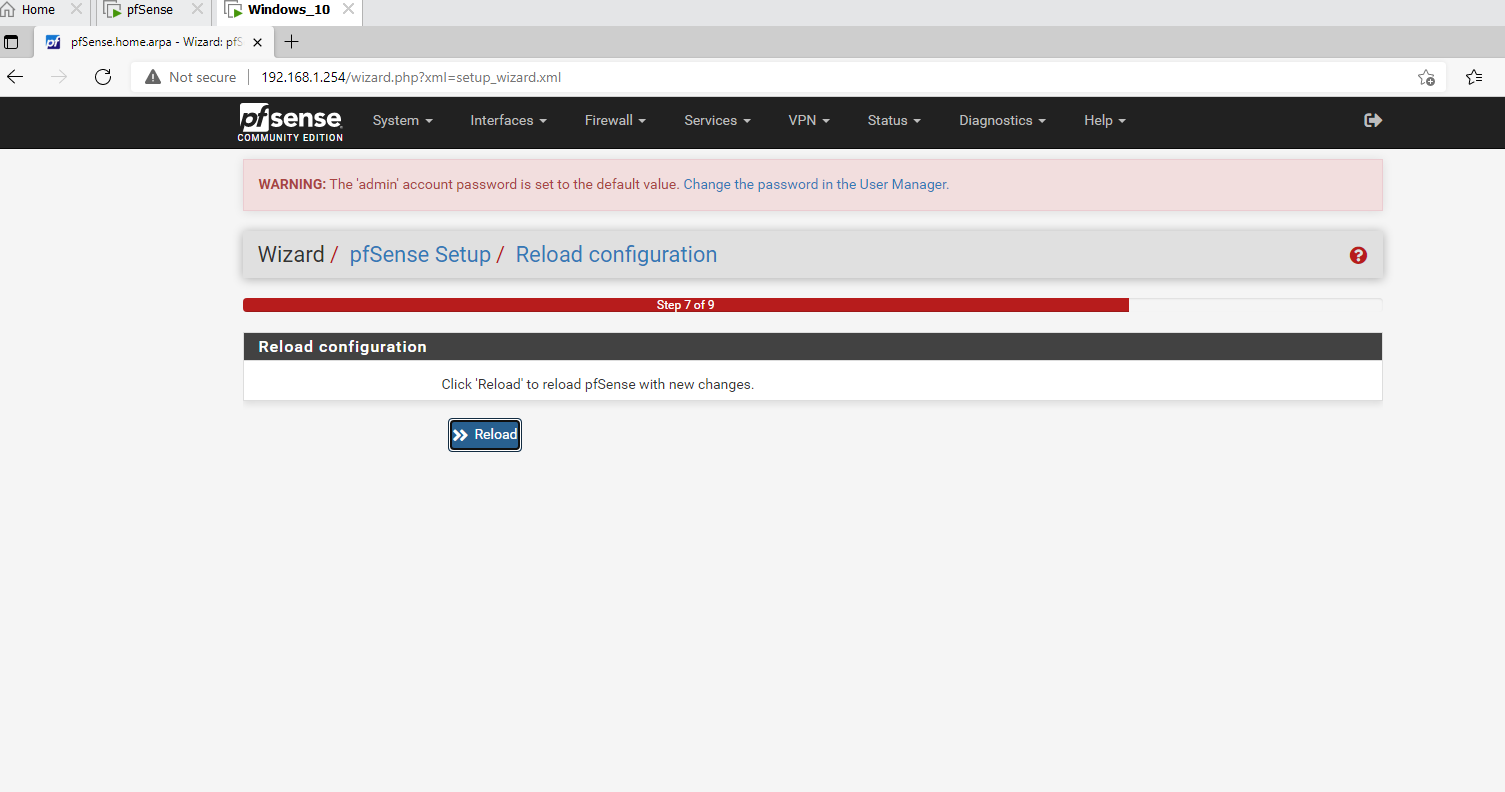
Next is to configure the firewall rules using the web interface.
Start the Windows 10 installed earlier to do that.
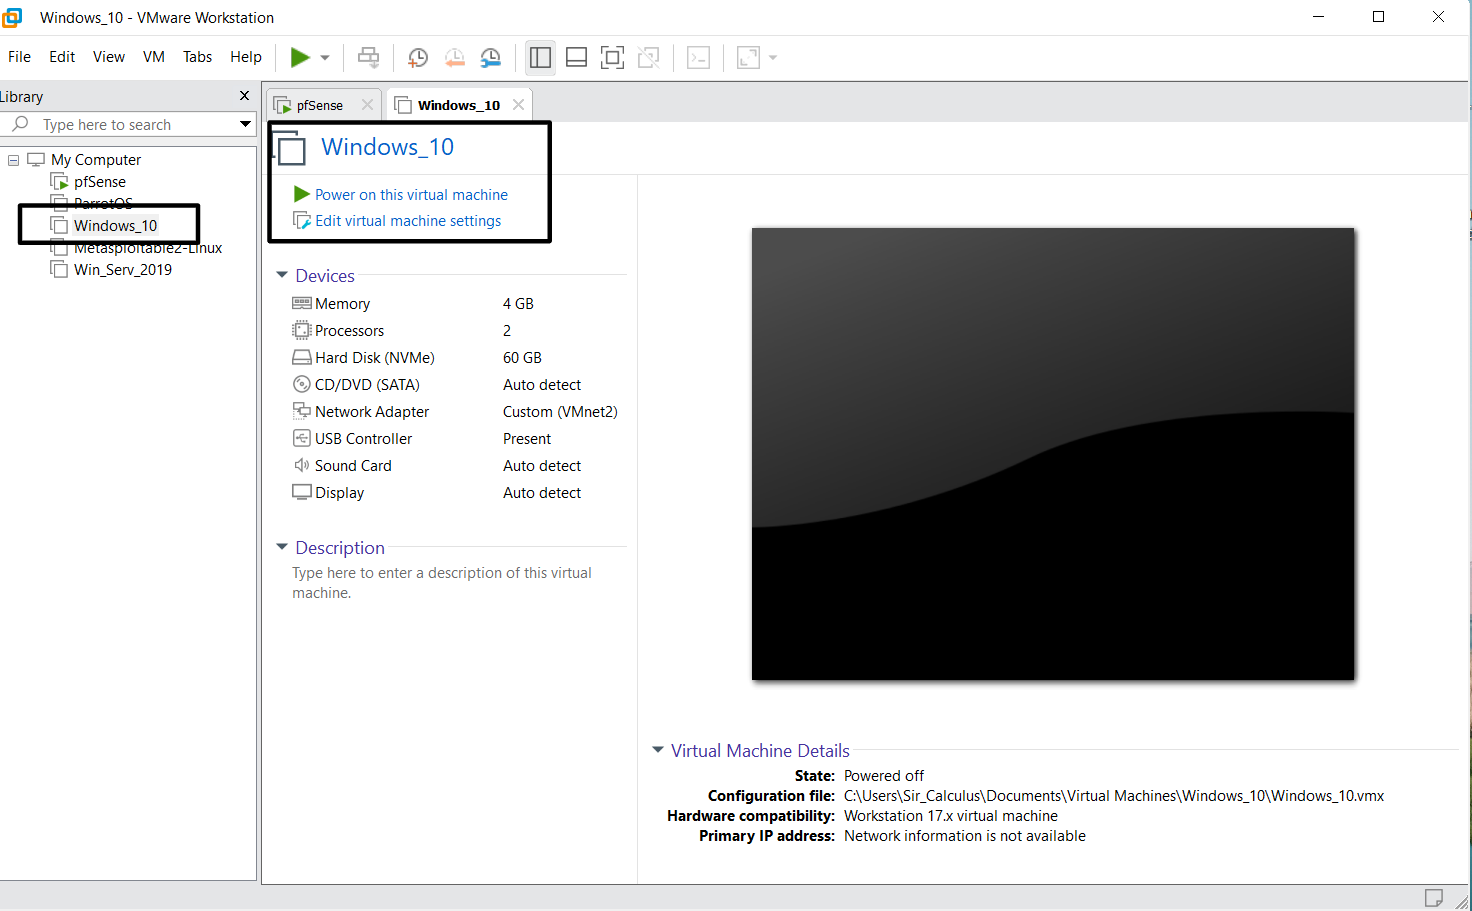
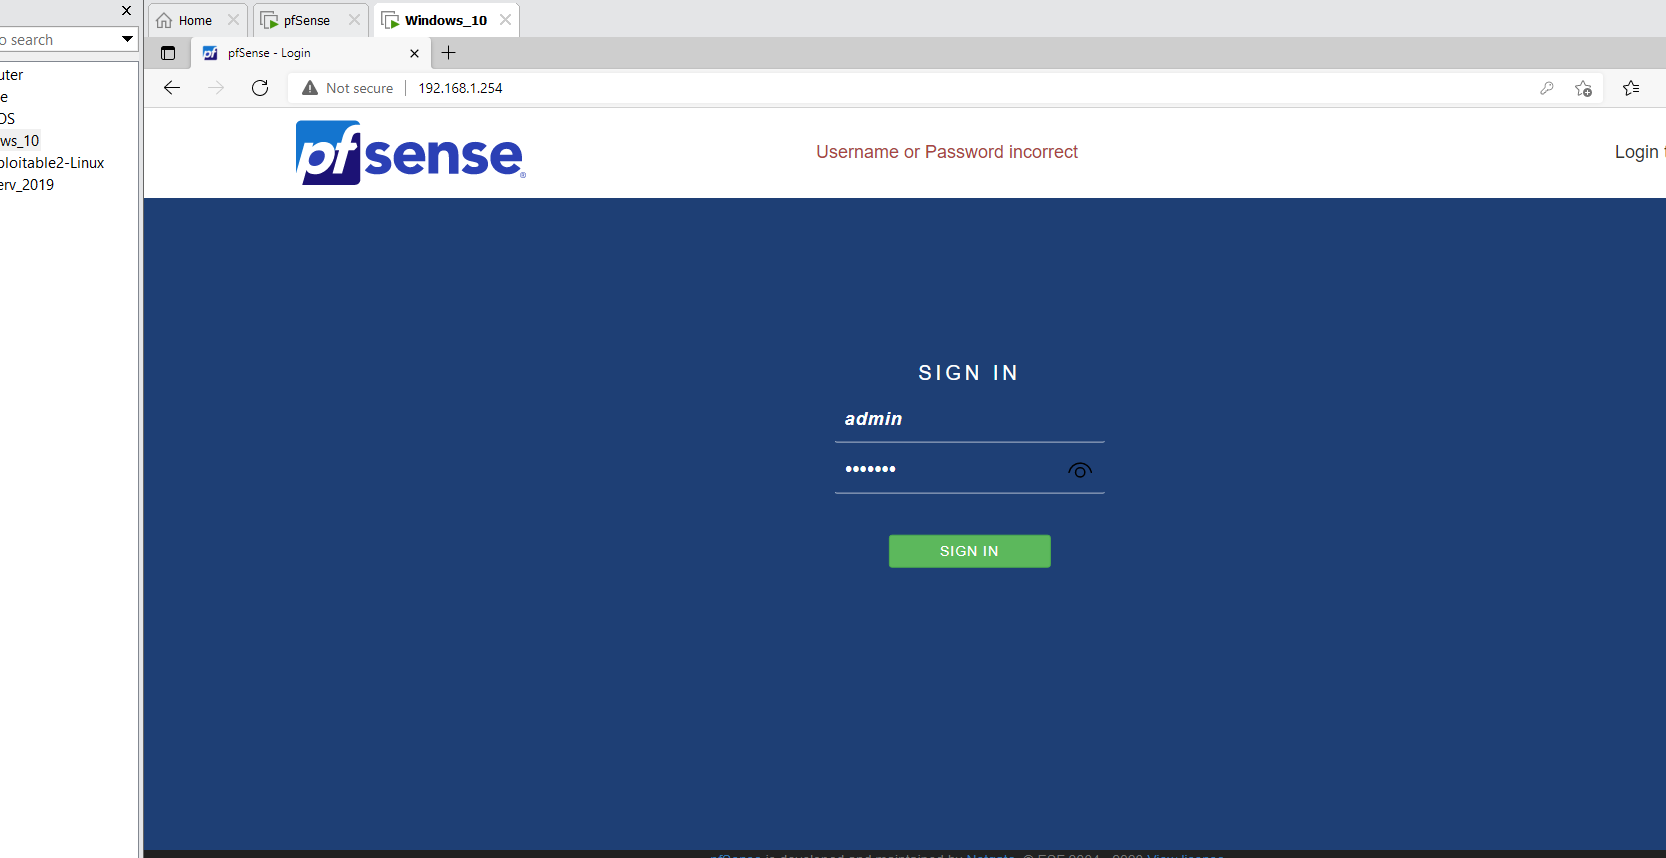
Enter the IP address of the pfsense in the browser and enter the credentials as well
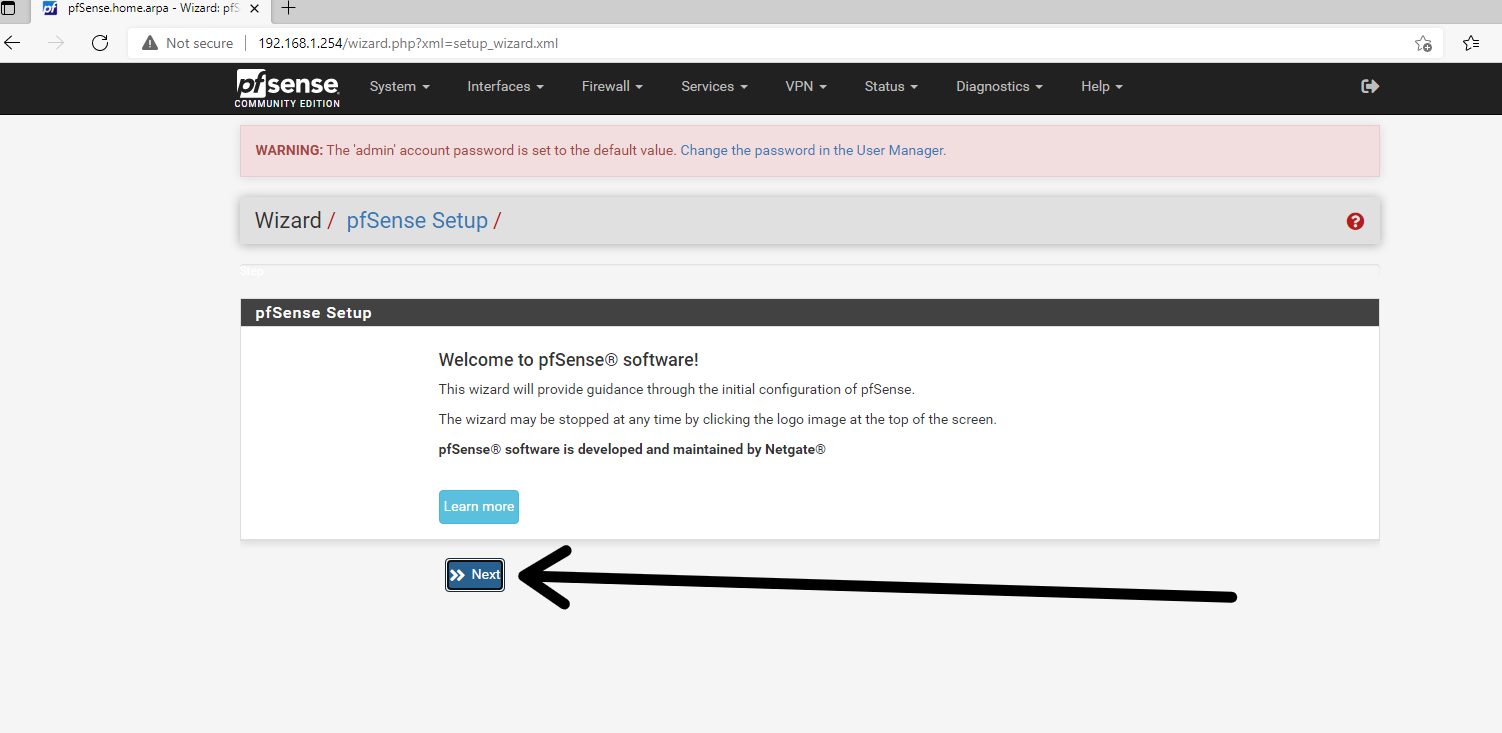
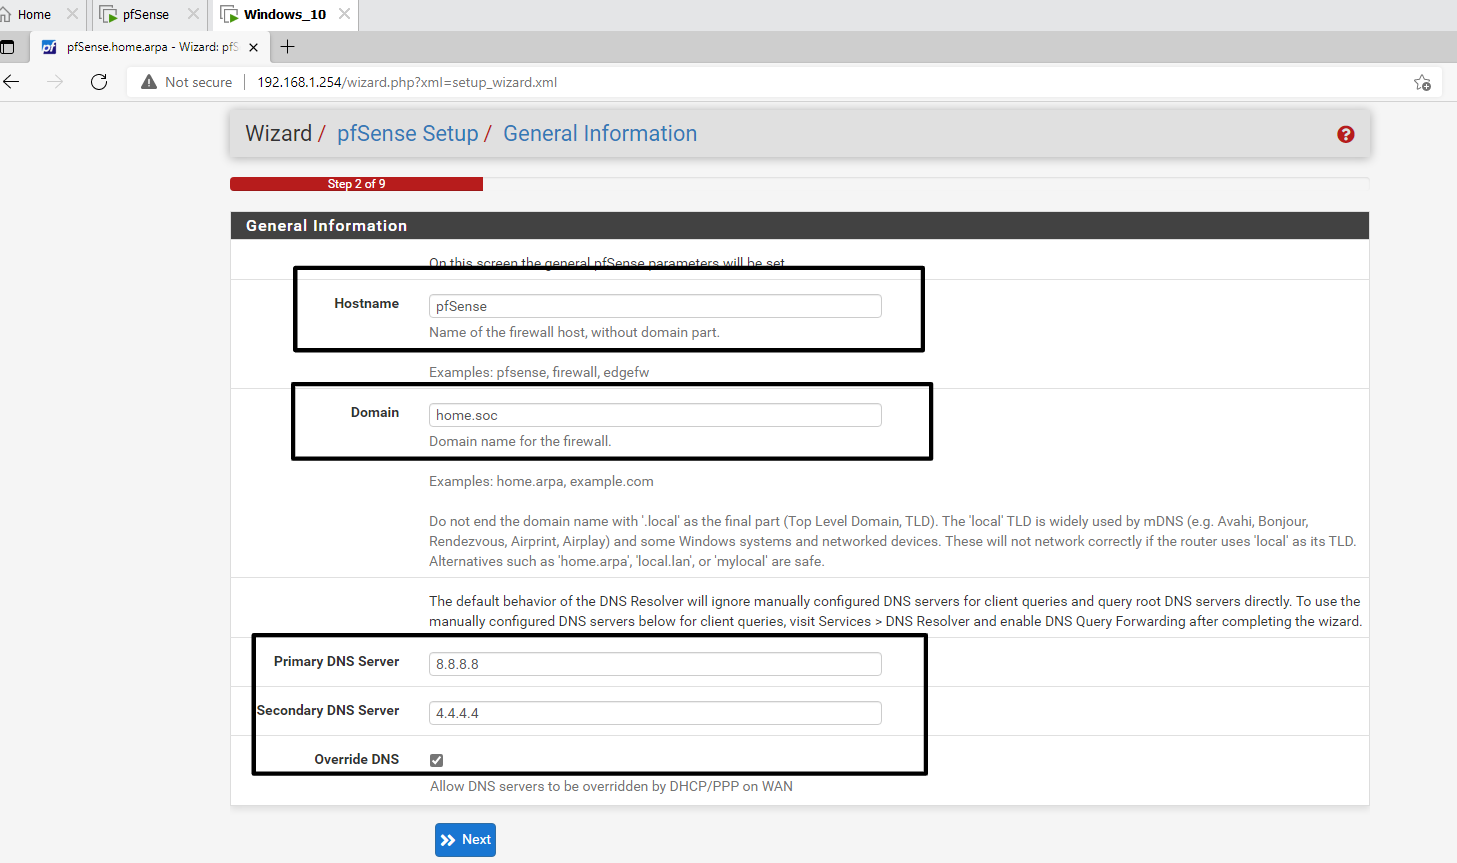
Modify the hostname and Domain if you want. Also, enter the Primary and Secondary DNS servers, 8.8.8.8 and 4.4.4.4 respectively
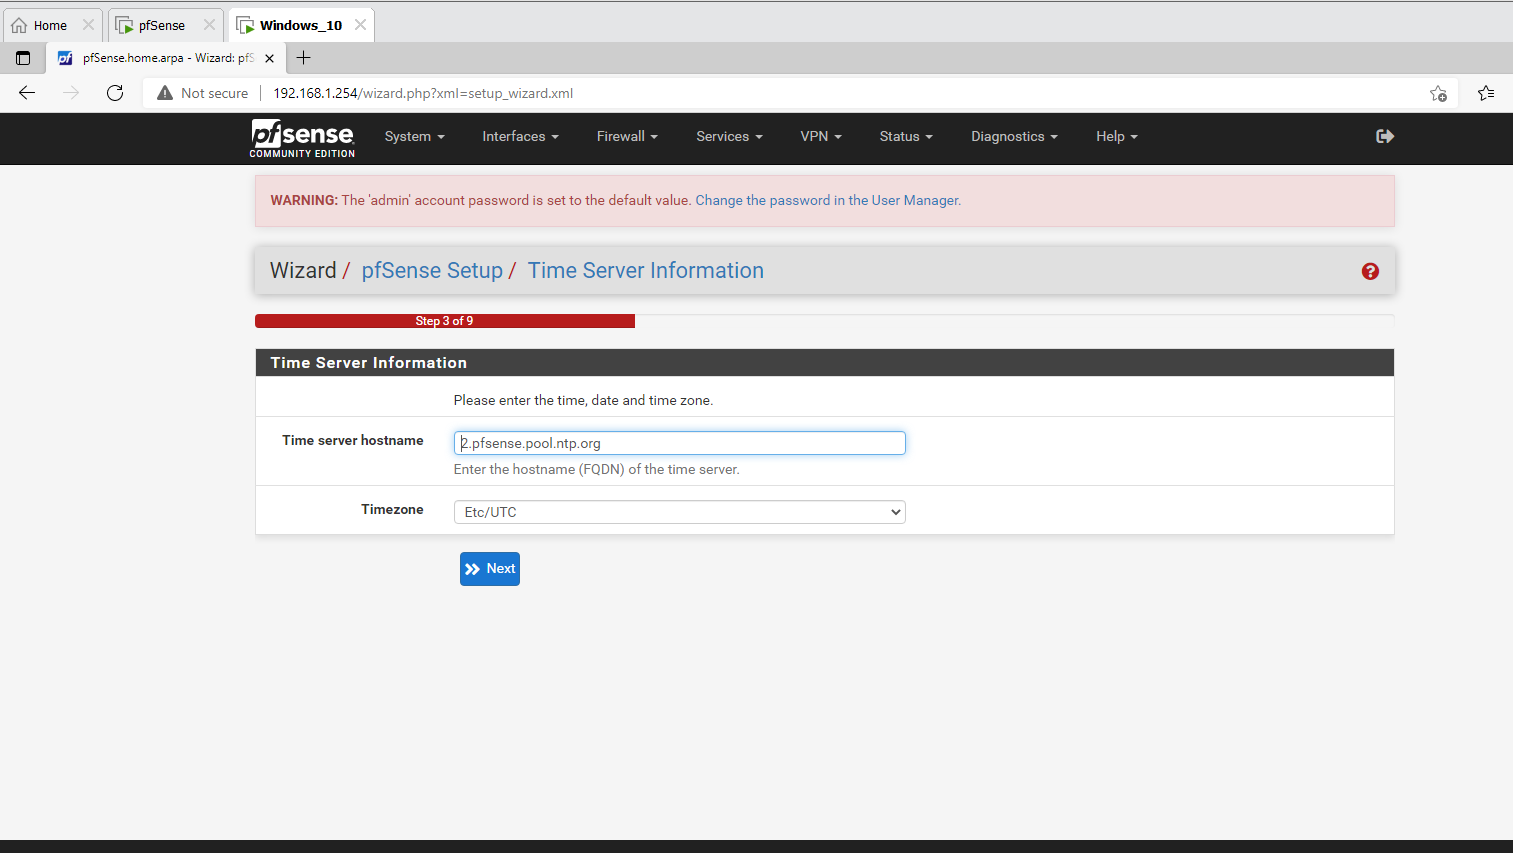
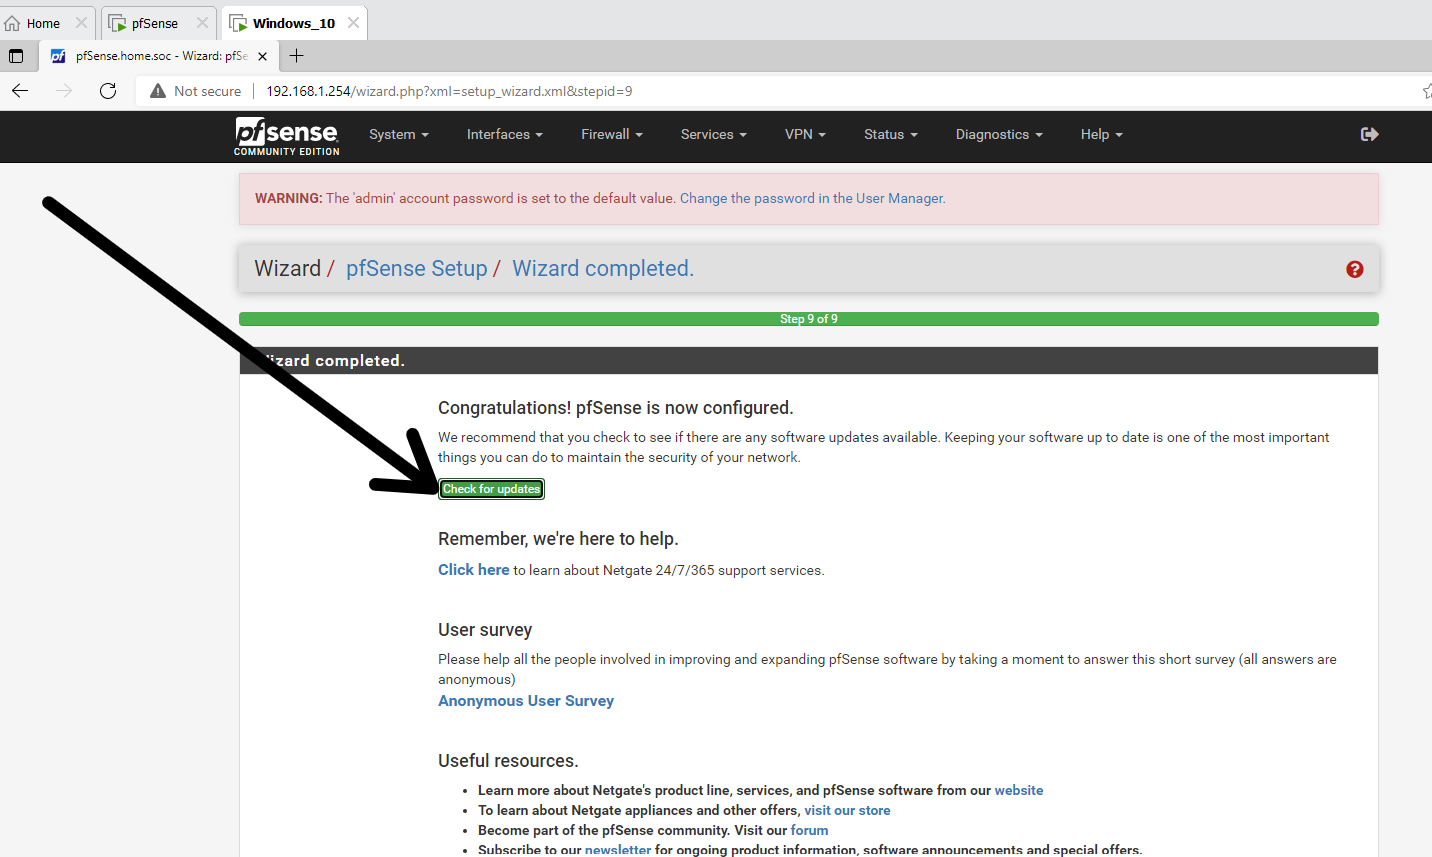
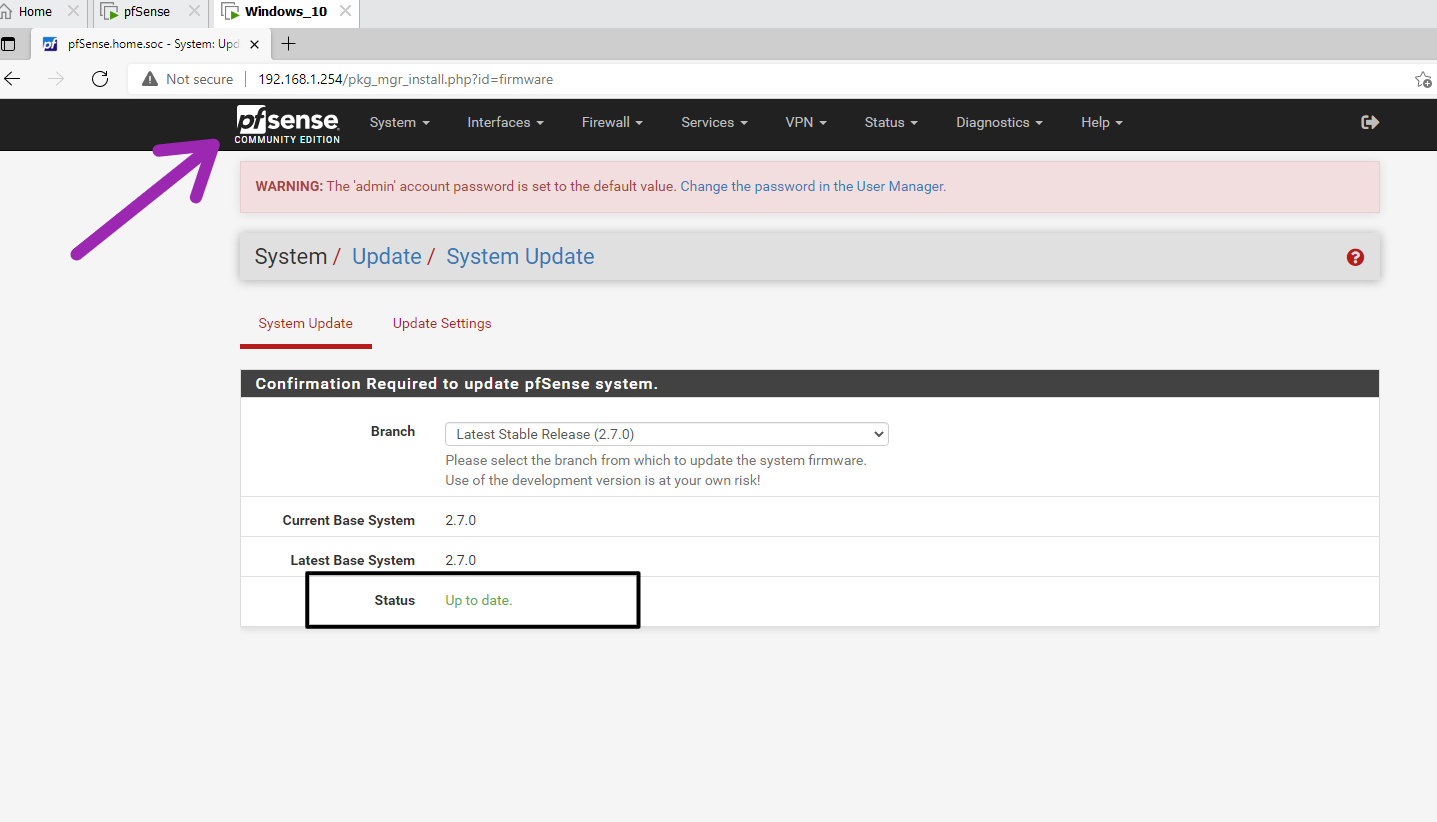
Step 7
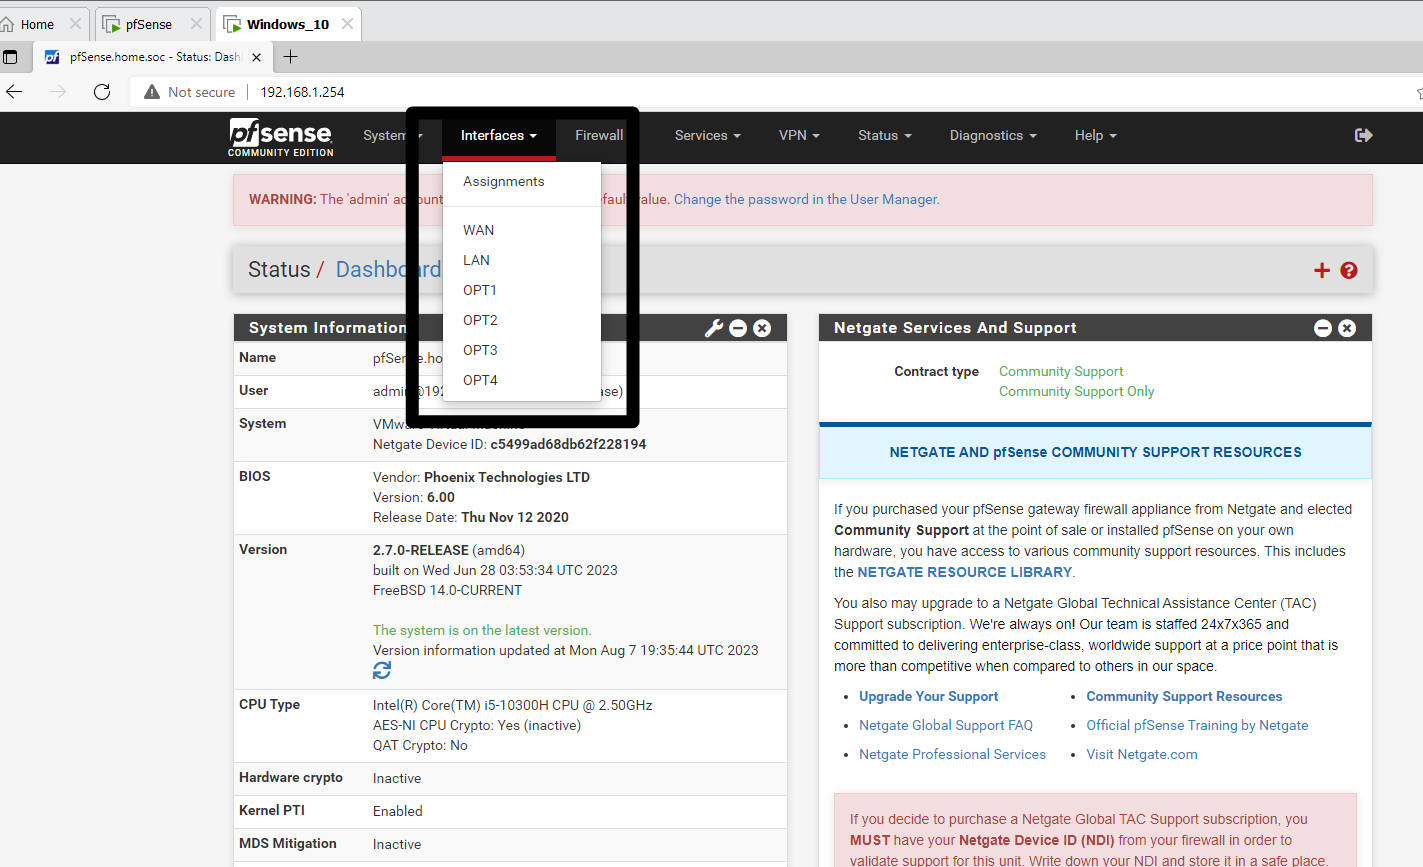
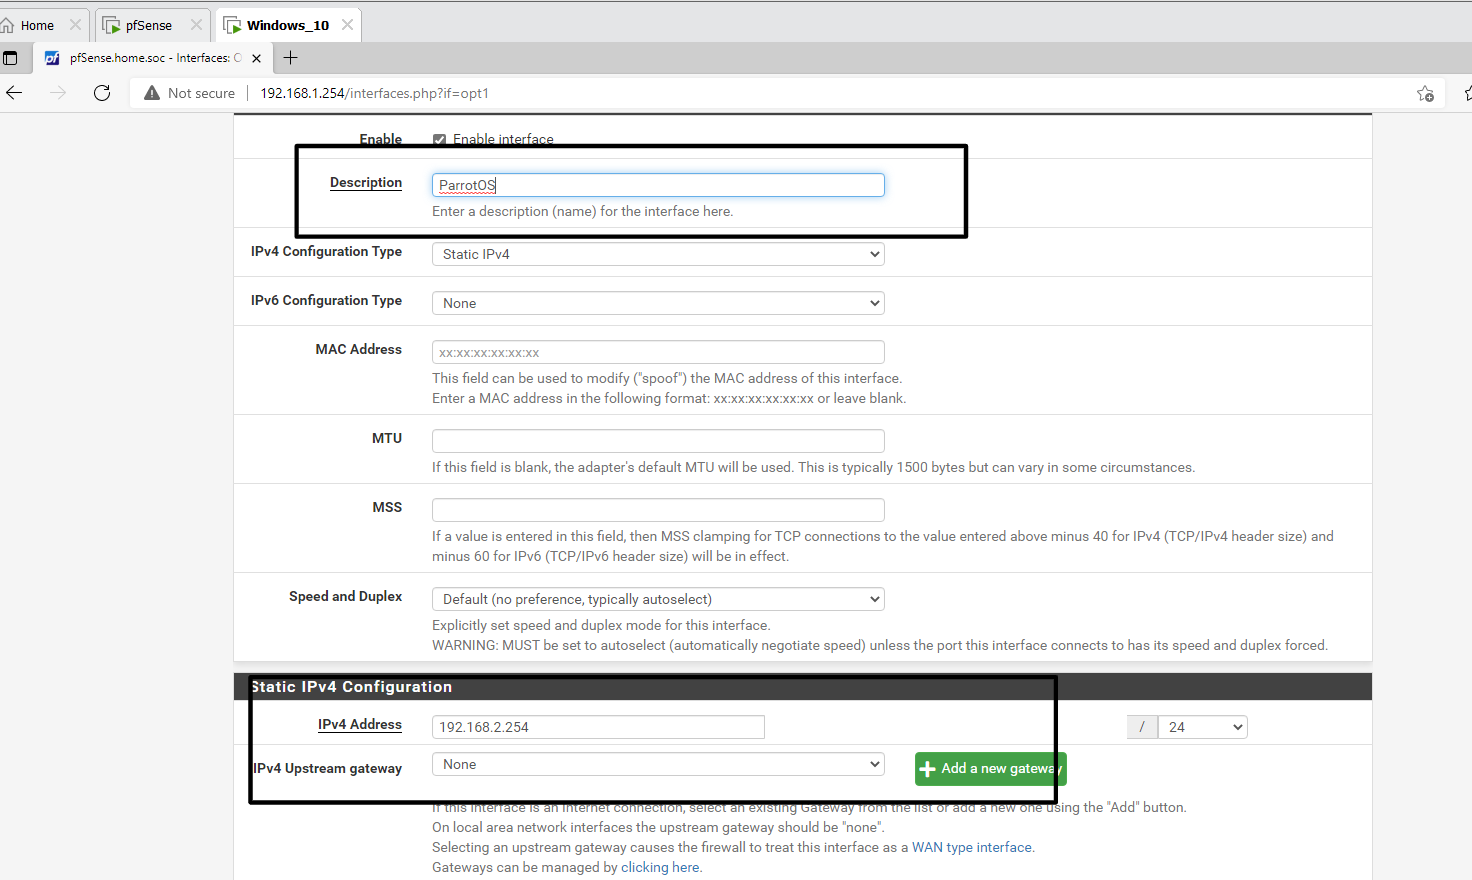
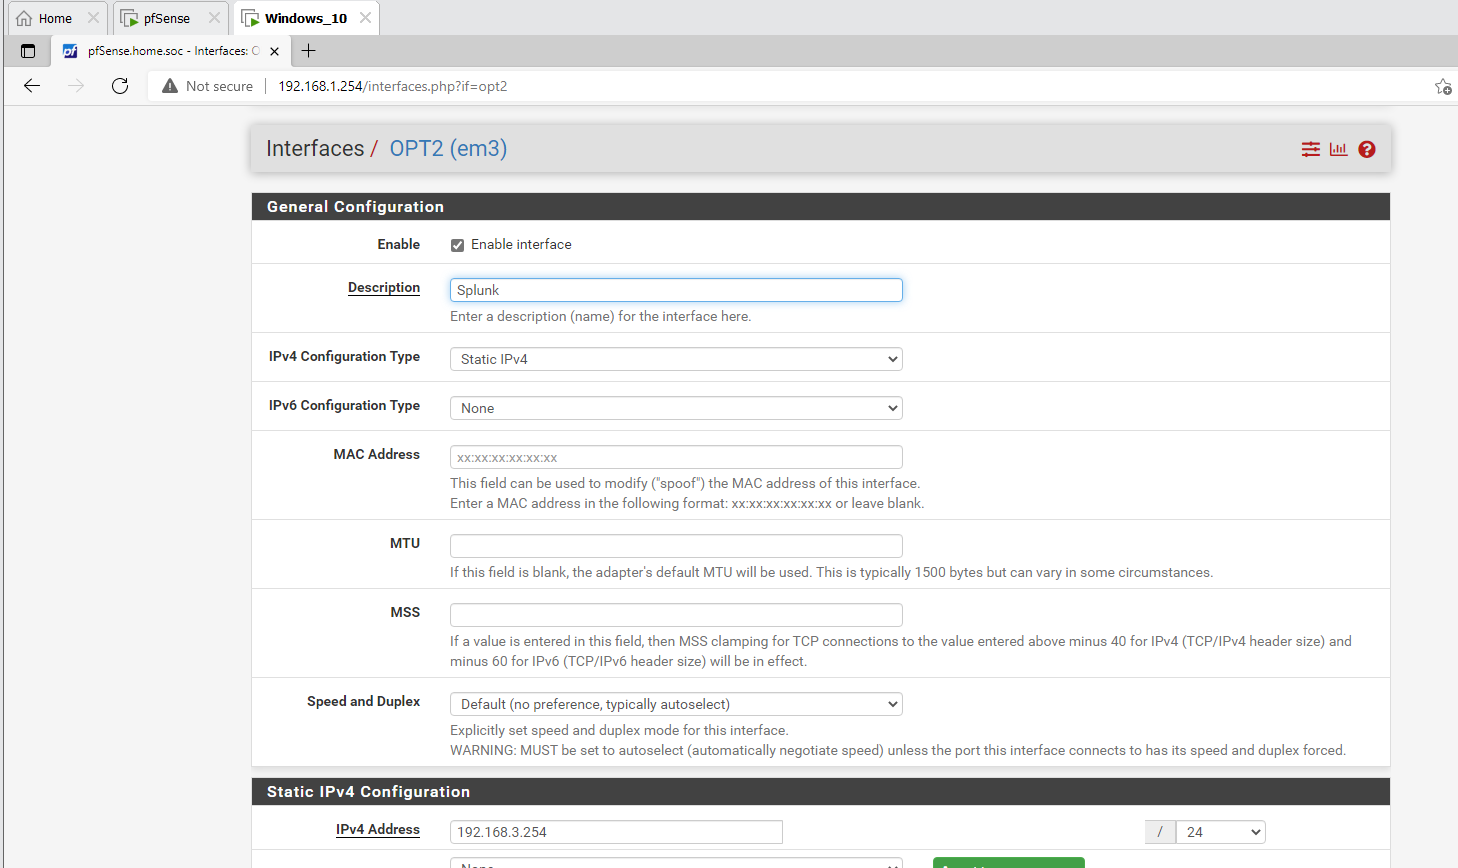
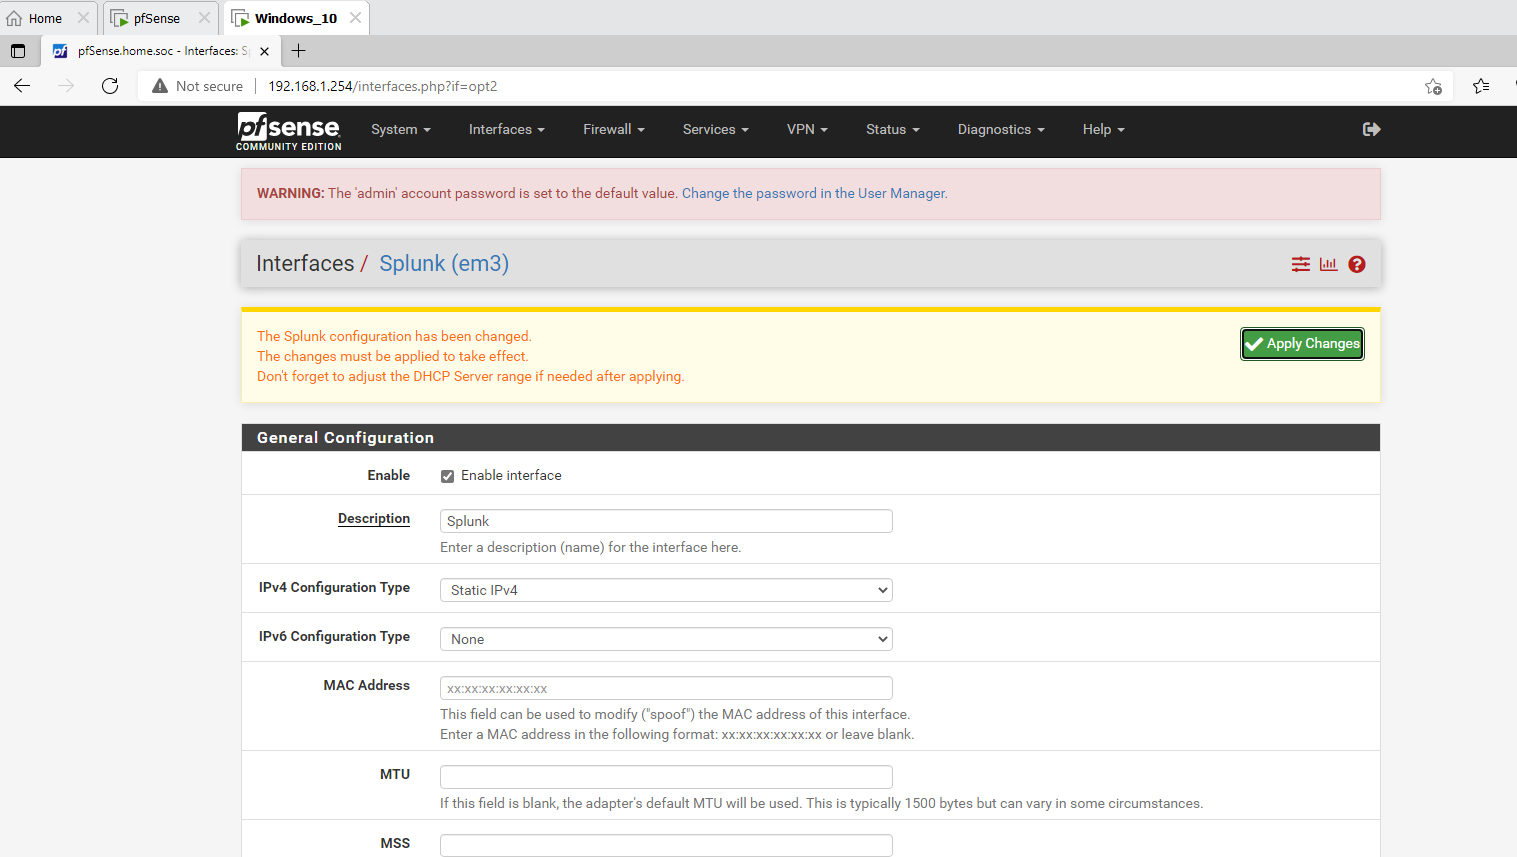
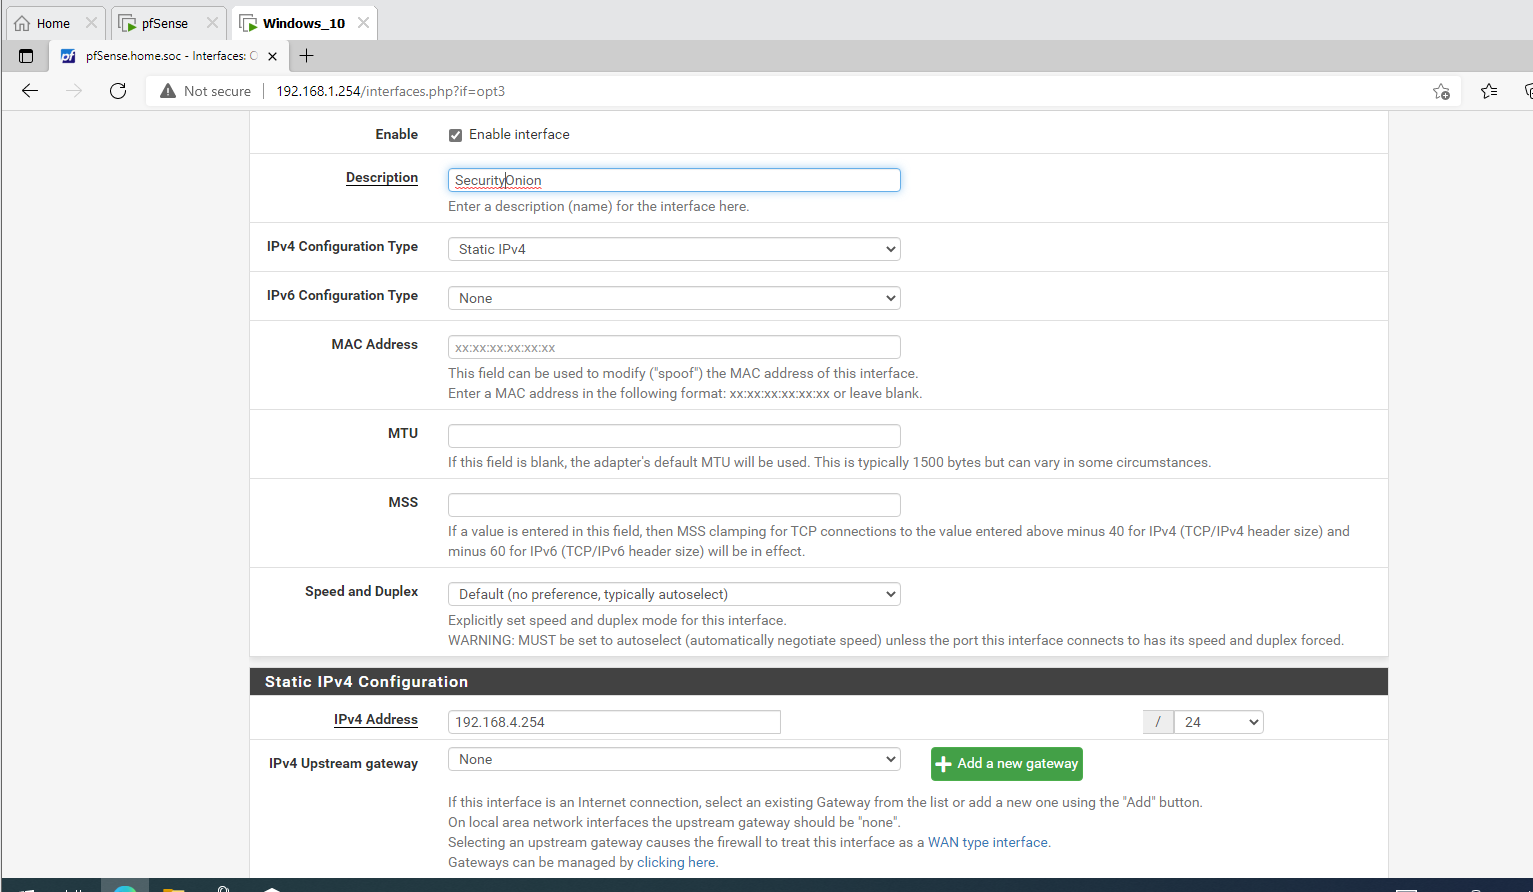
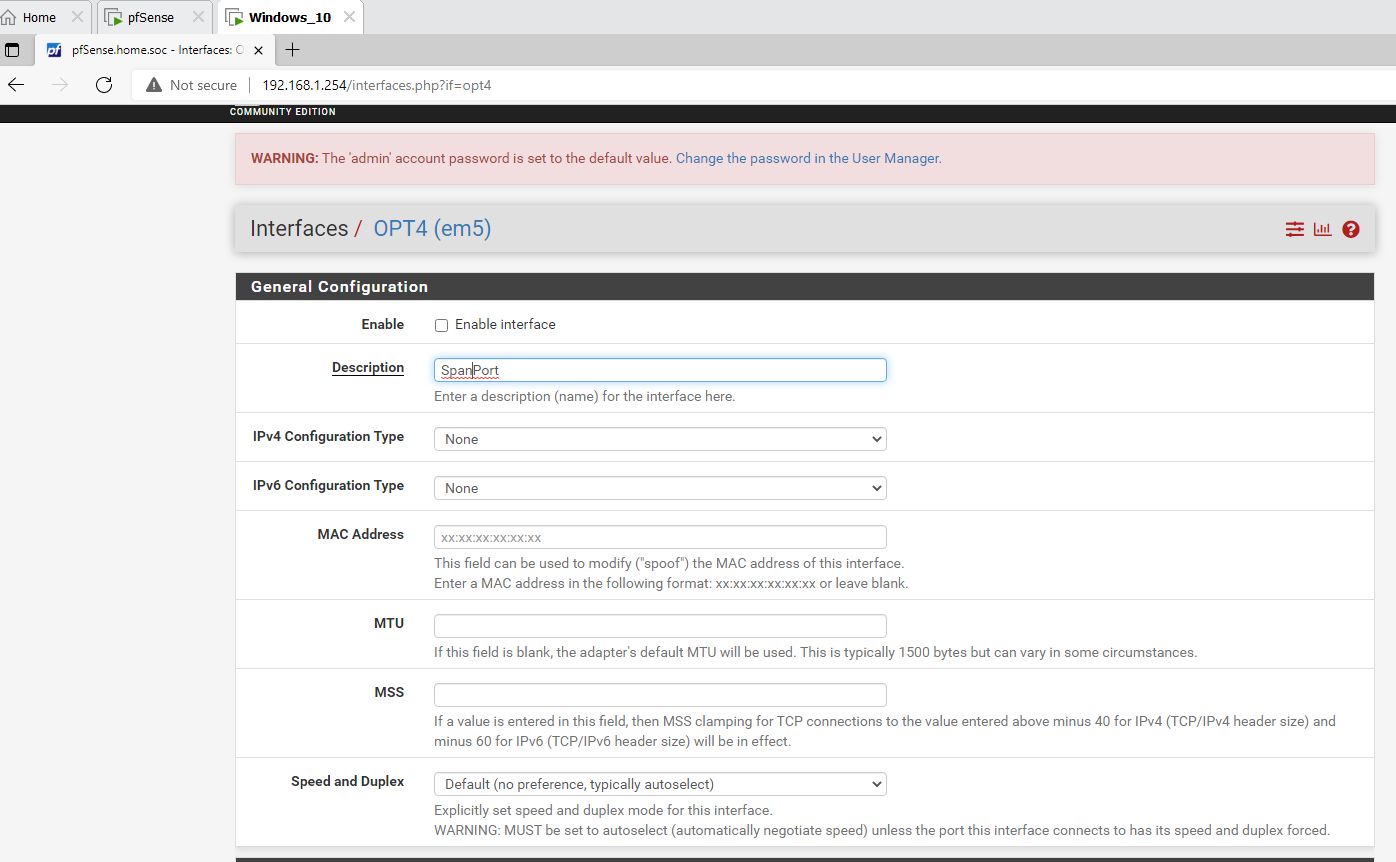
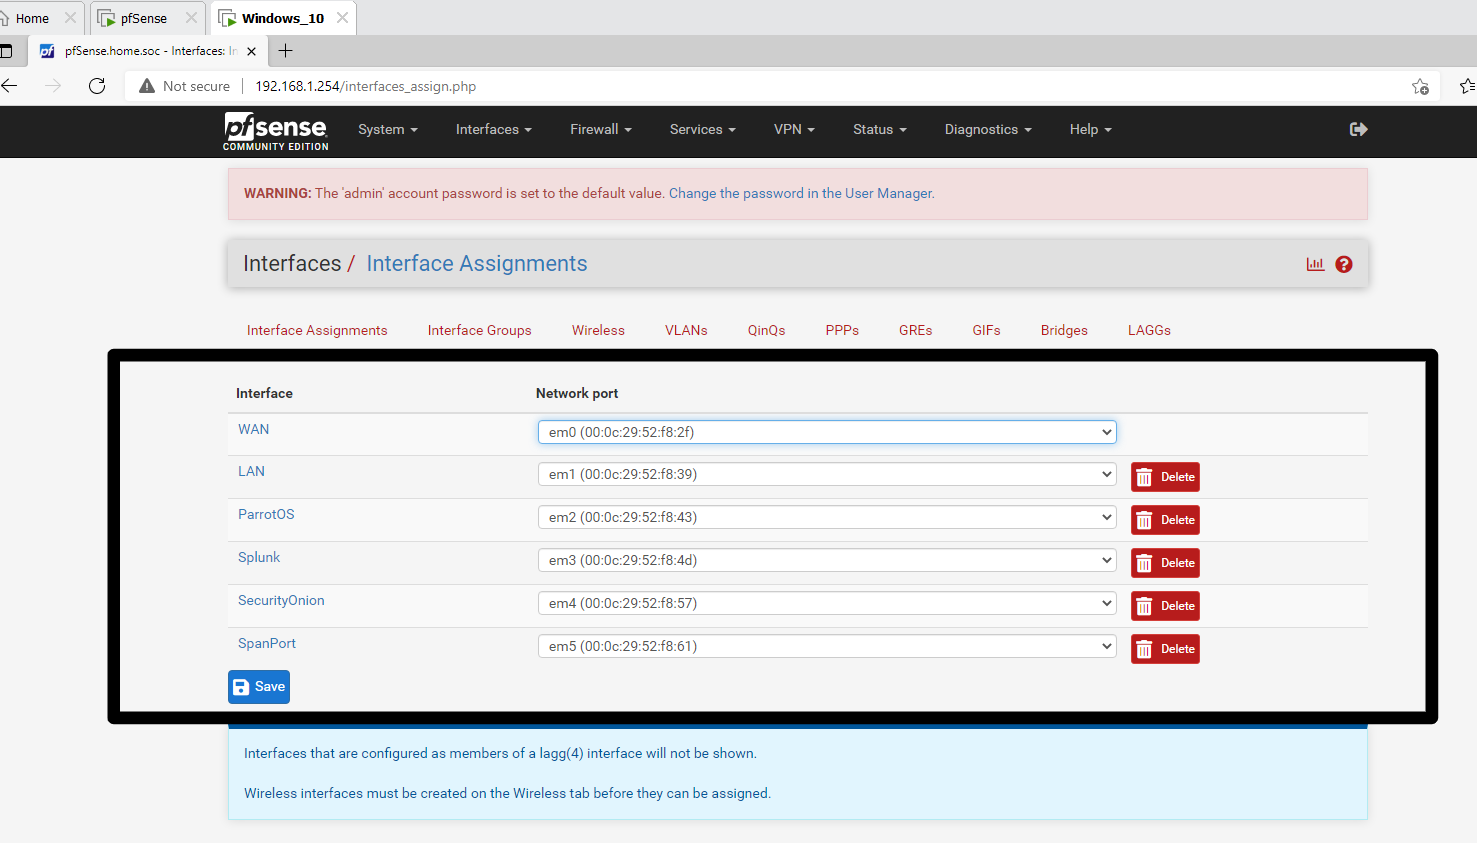
Change the interface names. As at now its named OPT1, OPT2 .. . OPT4. Change the respective names as it appears in the network diagram.
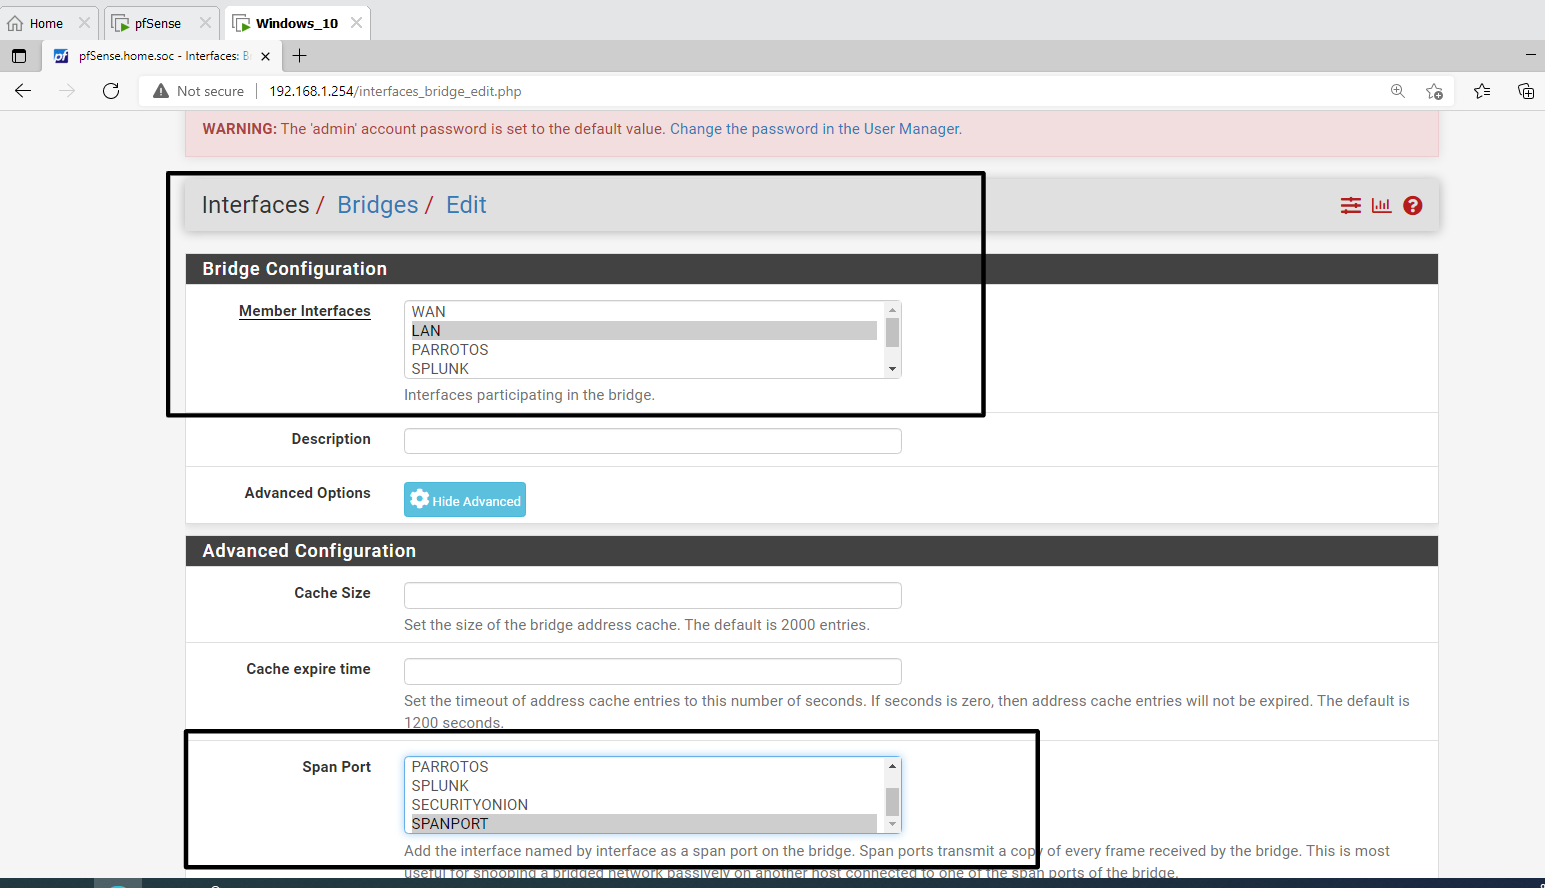
Step 8
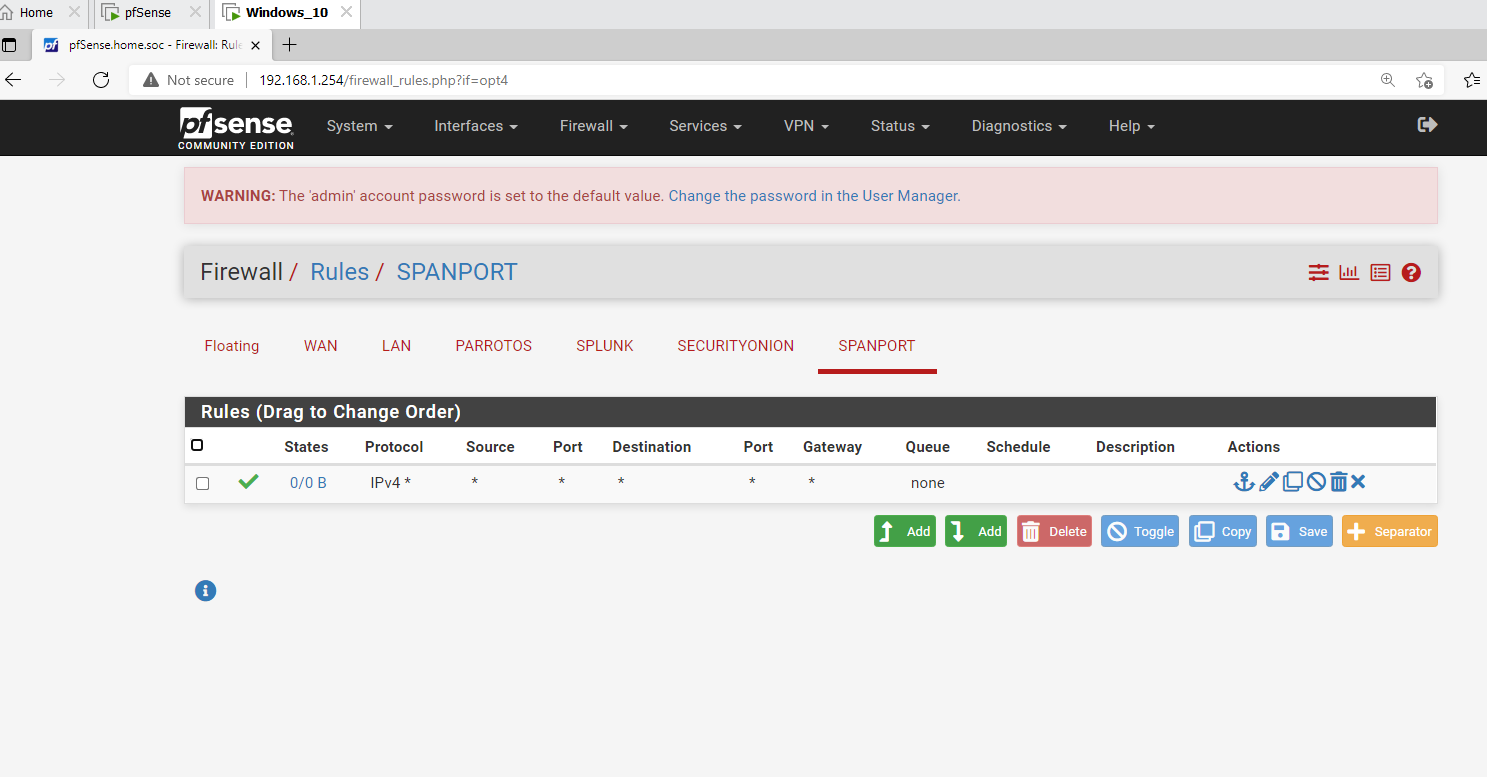
Set firewall rules
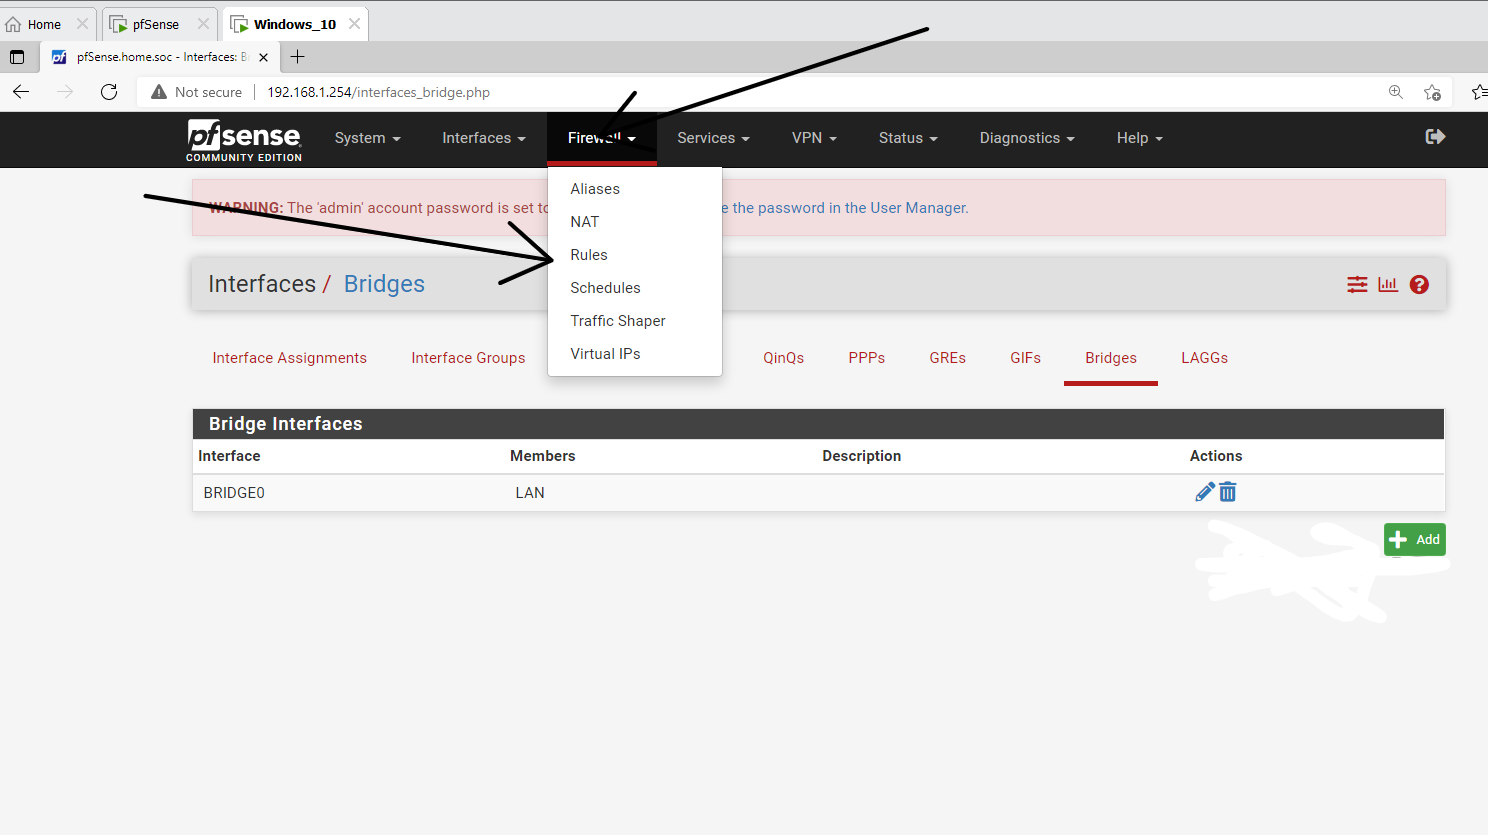
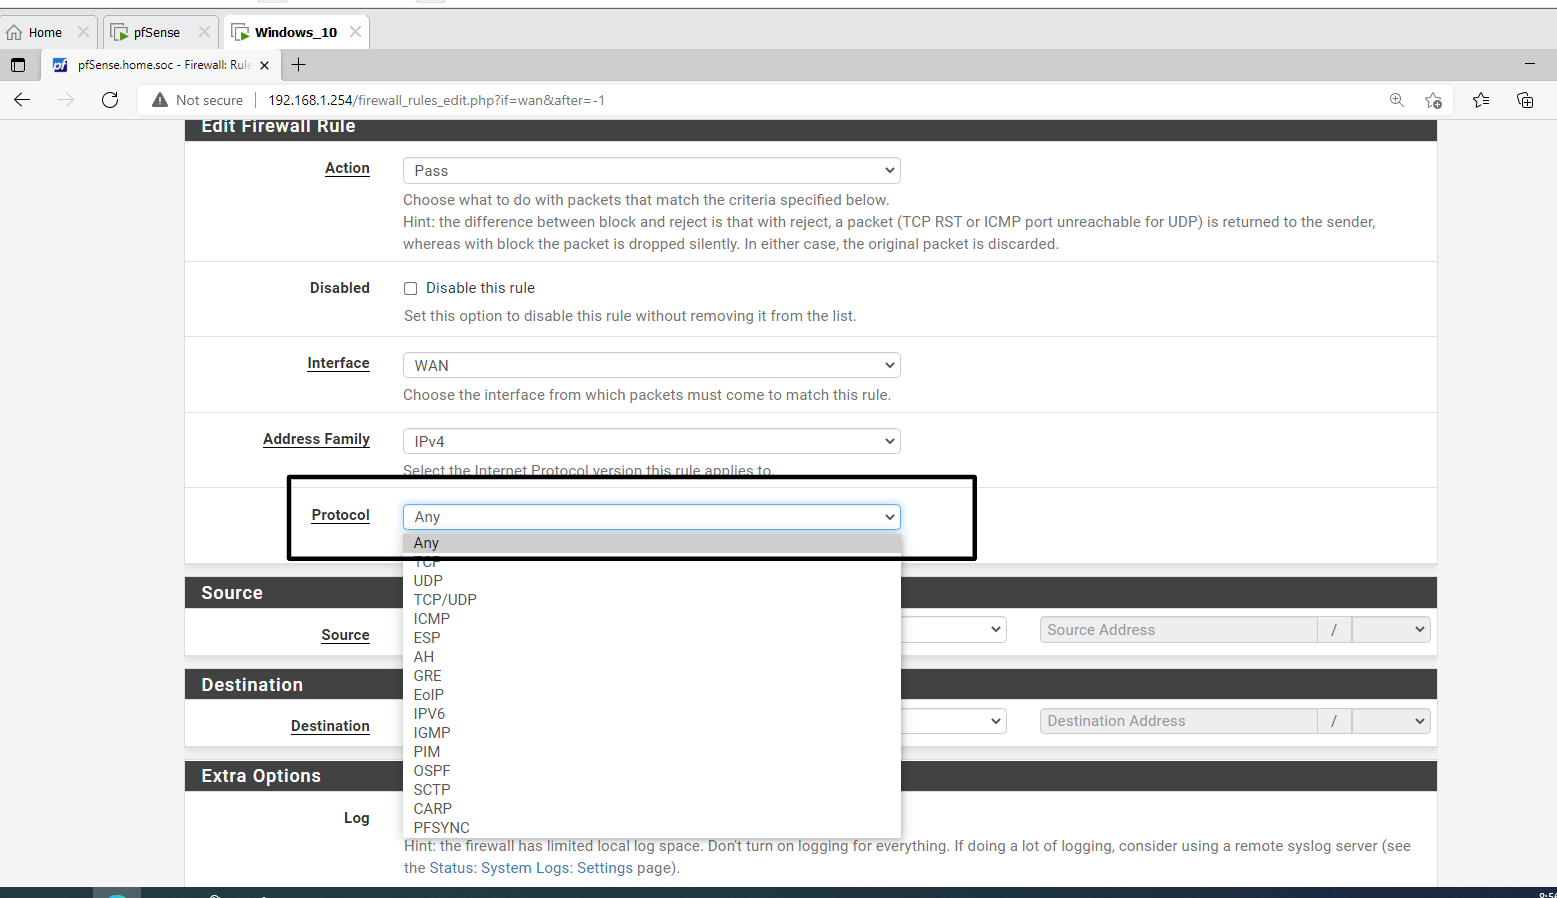

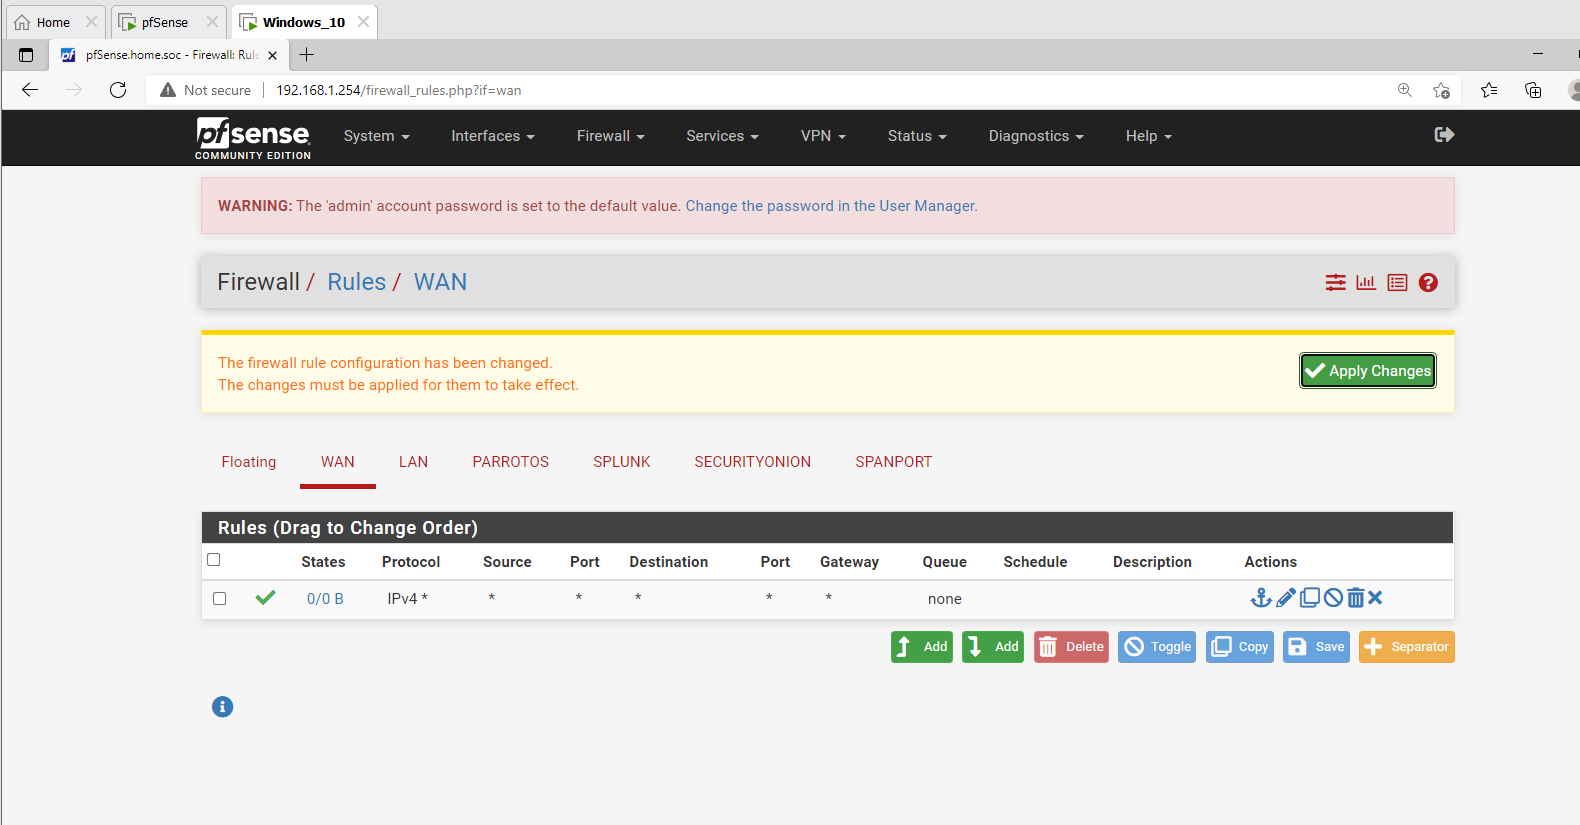
Repeat the above rules for the other interfaces as well.
And that is all for now
Next in the homelab series: Installation of ParrotOS as an attack machine
