Installation of Vmware Workstation Pro 17
2022-11-04
NB: This post is part of the series on building a home lab
Vmware Workstation Pro
VMware Workstation is a line of Desktop Hypervisor products that let users run virtual machines, containers, and Kubernetes clusters.
So if the idea is to test software compatibility, experiment with different configurations, or simply want to explore new operating systems, VMware workstation pro provides a safe and convenient environment to do so.
In this section, I will walk you through the step-by-step process of installing Vmware workstation pro on your system.
Step 1
To be able to install VMware workstation pro, virtualization needs to be enabled on the host machine. Go to the task manager to verify as shown in the image below.
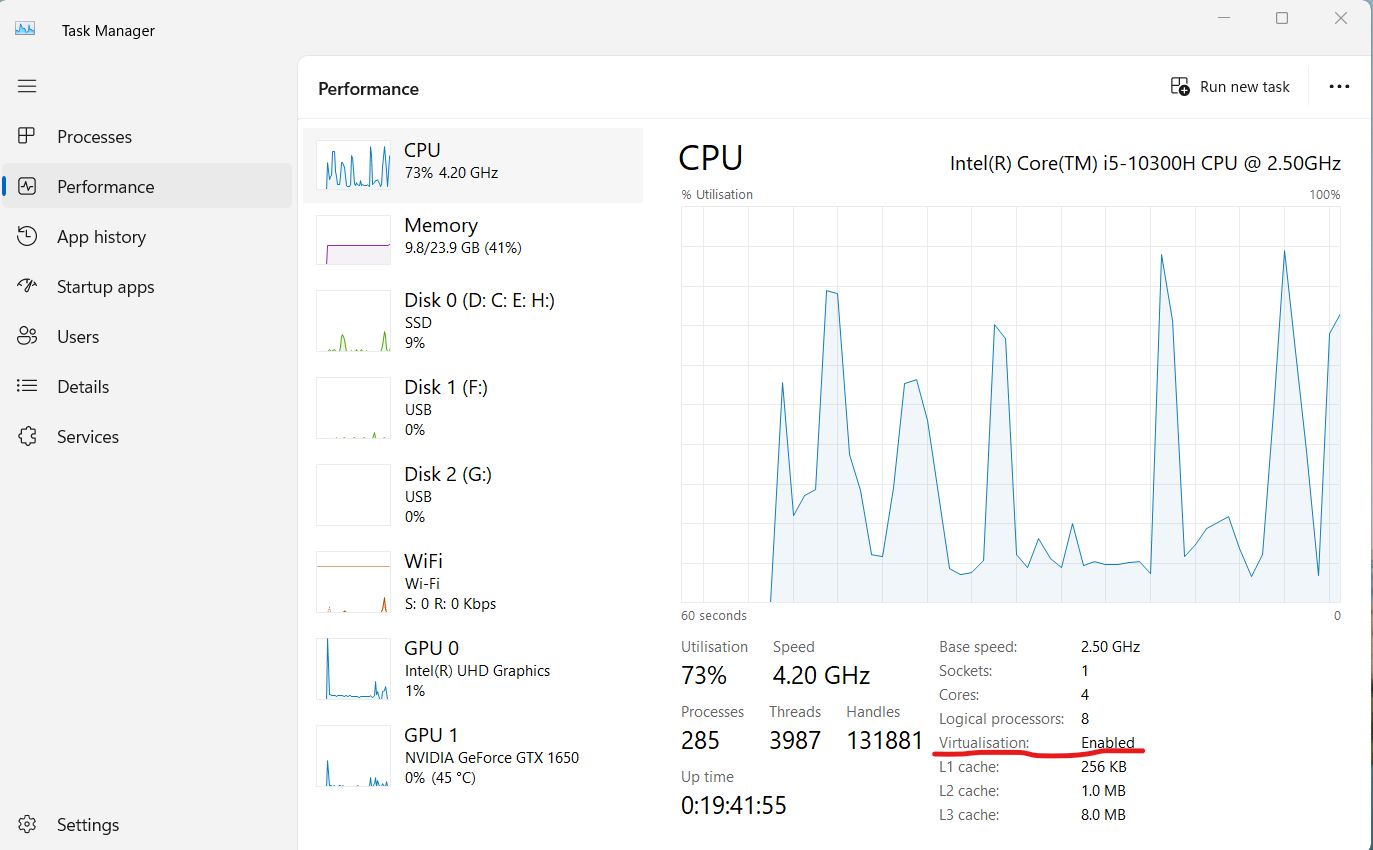
If not enabled, You have to enable it by going through the BIOS
Step 2
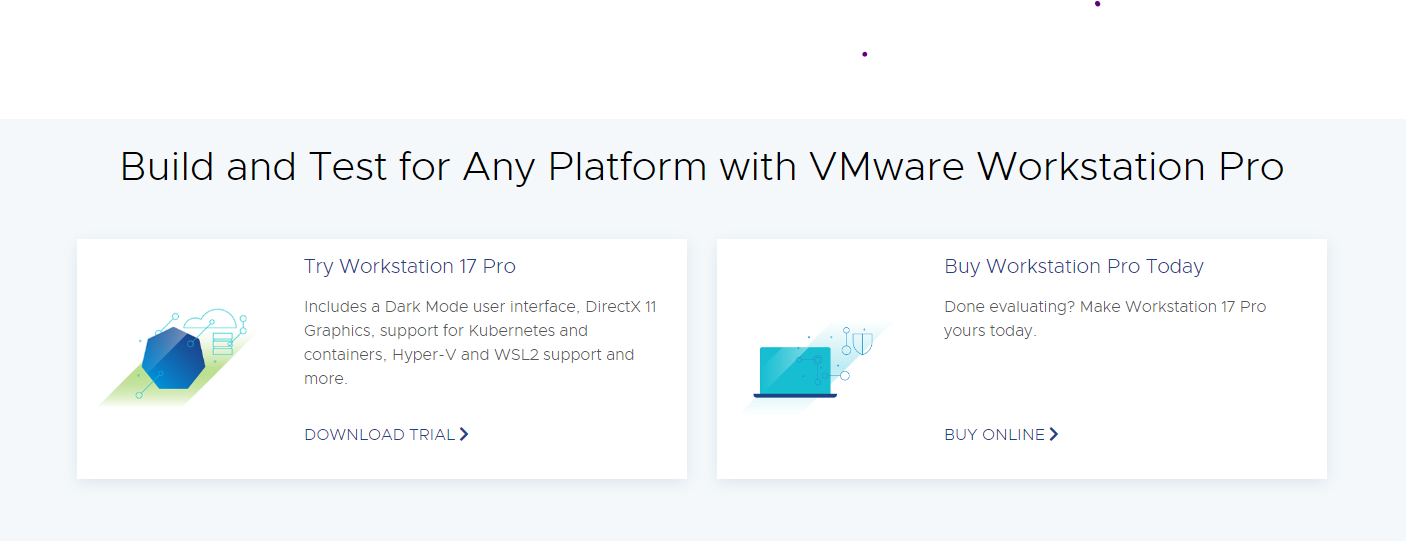
Now it's time to get the VMware workstation Pro installed. The Vmware workstation Pro comes in two forms, a trial, and a paid version.
Head over here on your favorite browser and download the appropriate one for your machine. Make sure you save it at a location you can easily find.
Step 3
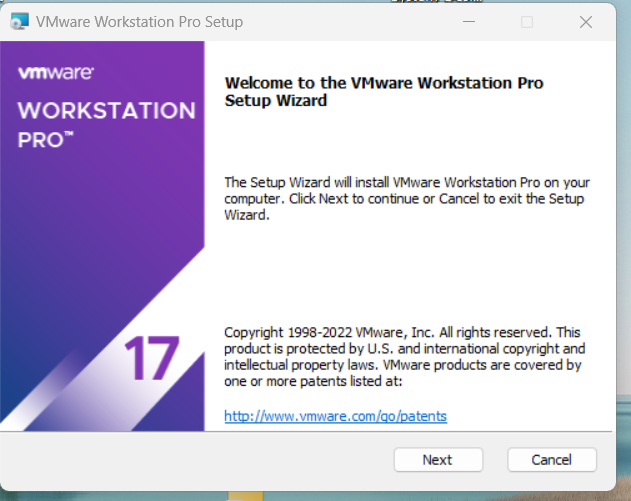
Locate the downloaded file and open it to start the installation.
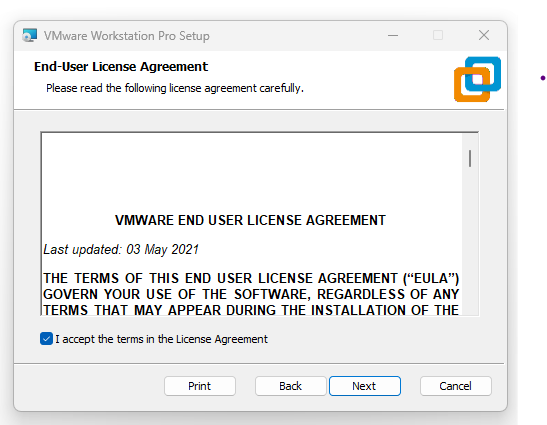
Accept the license agreement
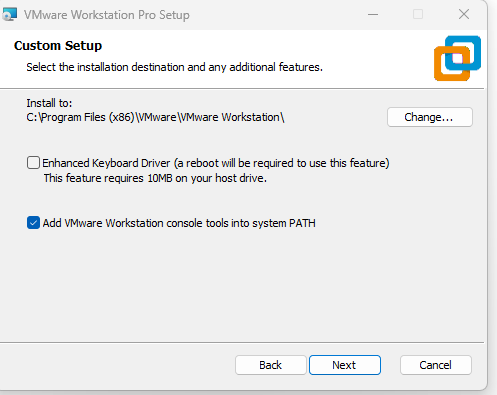
Do a custom setup if you want. I went with the default settings
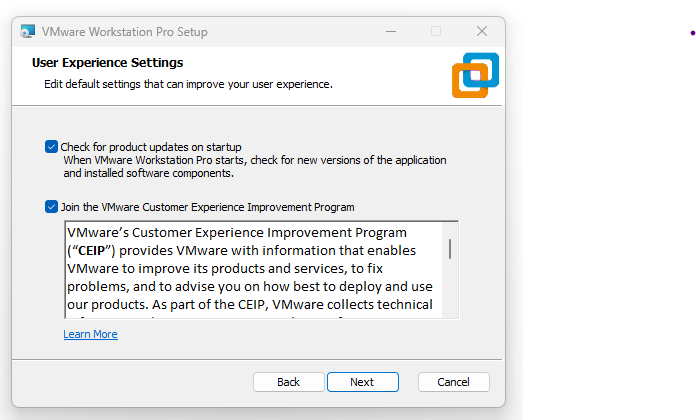
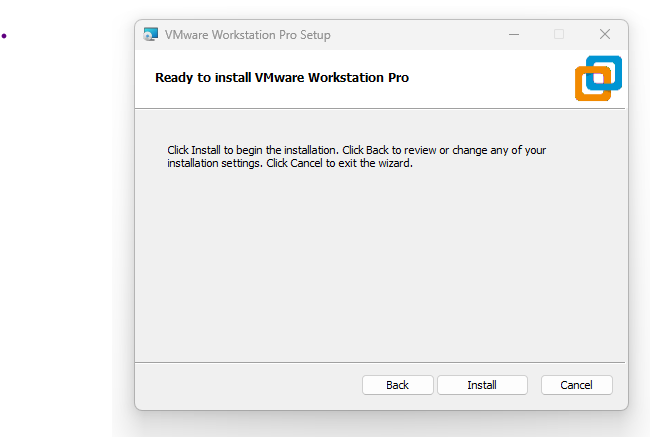
Click on Install to start the installation
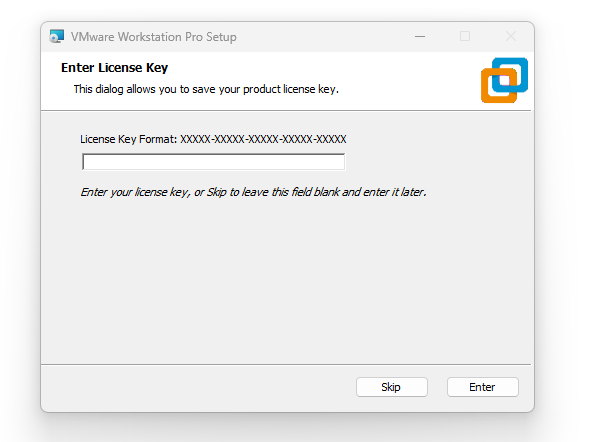
Next, to complete the installation, you need to enter the license or skip to use the trial for 30 days
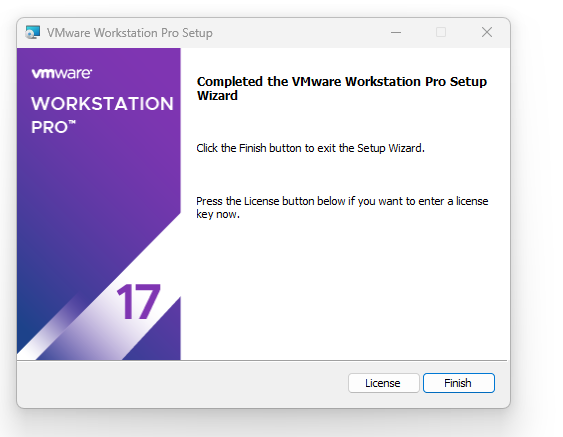
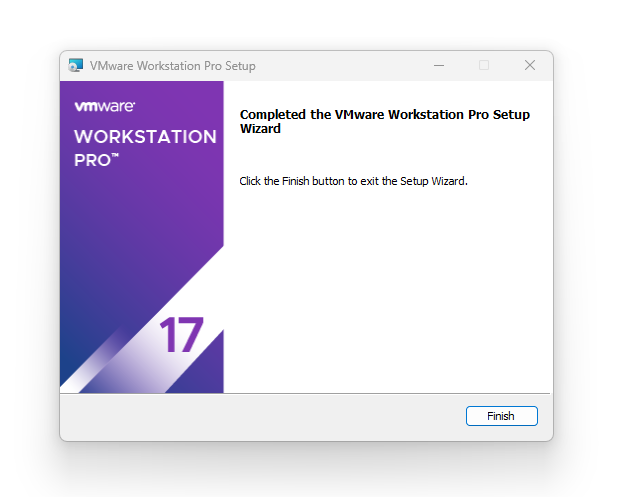
Congratulations!!
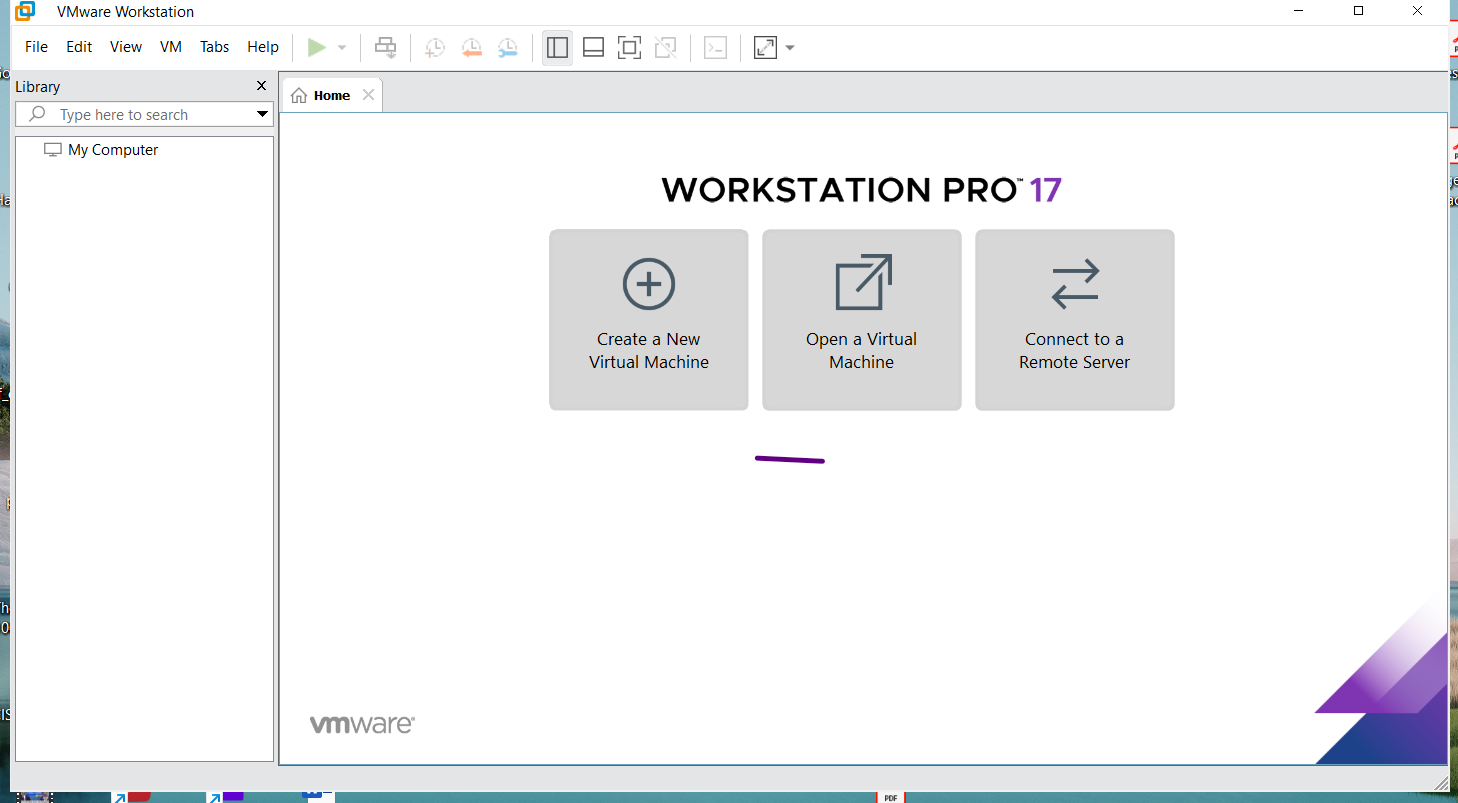
You have successfully installed the Vmware workstation pro.
Next in the homelab series: Installation of Windows 10 in Vmware workstation pro
